How does my voiceover work increase my value as an instructional designer?
My voiceover production work increases my value as an instructional designer in a few ways. I am able to quickly record and edit broadcast quality audio through the use of a home recording studio and equipment. On some projects this means I can cut out audio vendor costs and deliver the audio faster than waiting for an outside studio.
My experience recording and editing audio has taught me how to efficiently structure audio projects for future maintenance, how to identify problem areas of a script, and how to create a consistent output that meets broadcast standards. Not only do I deliver high-quality audio, I structure the project in such a way that it is quicker to update later!
When recording audio for a project, I offer small improvements that make a big difference. Anytime I identify a potential change or suggestion, I am able to effectively communicate the benefit of the changes in a tactful and helpful way.
I’ve got a natural ability to change my voice and tone to suit the audience, so whether its an eLearning course, an explainer video, or a character voice, I’ve got it covered. Check out some demos of my work below.
Want my voice for your project?
Equipment
Zoom H5
Rode NT1KIT Cardioid Microphone
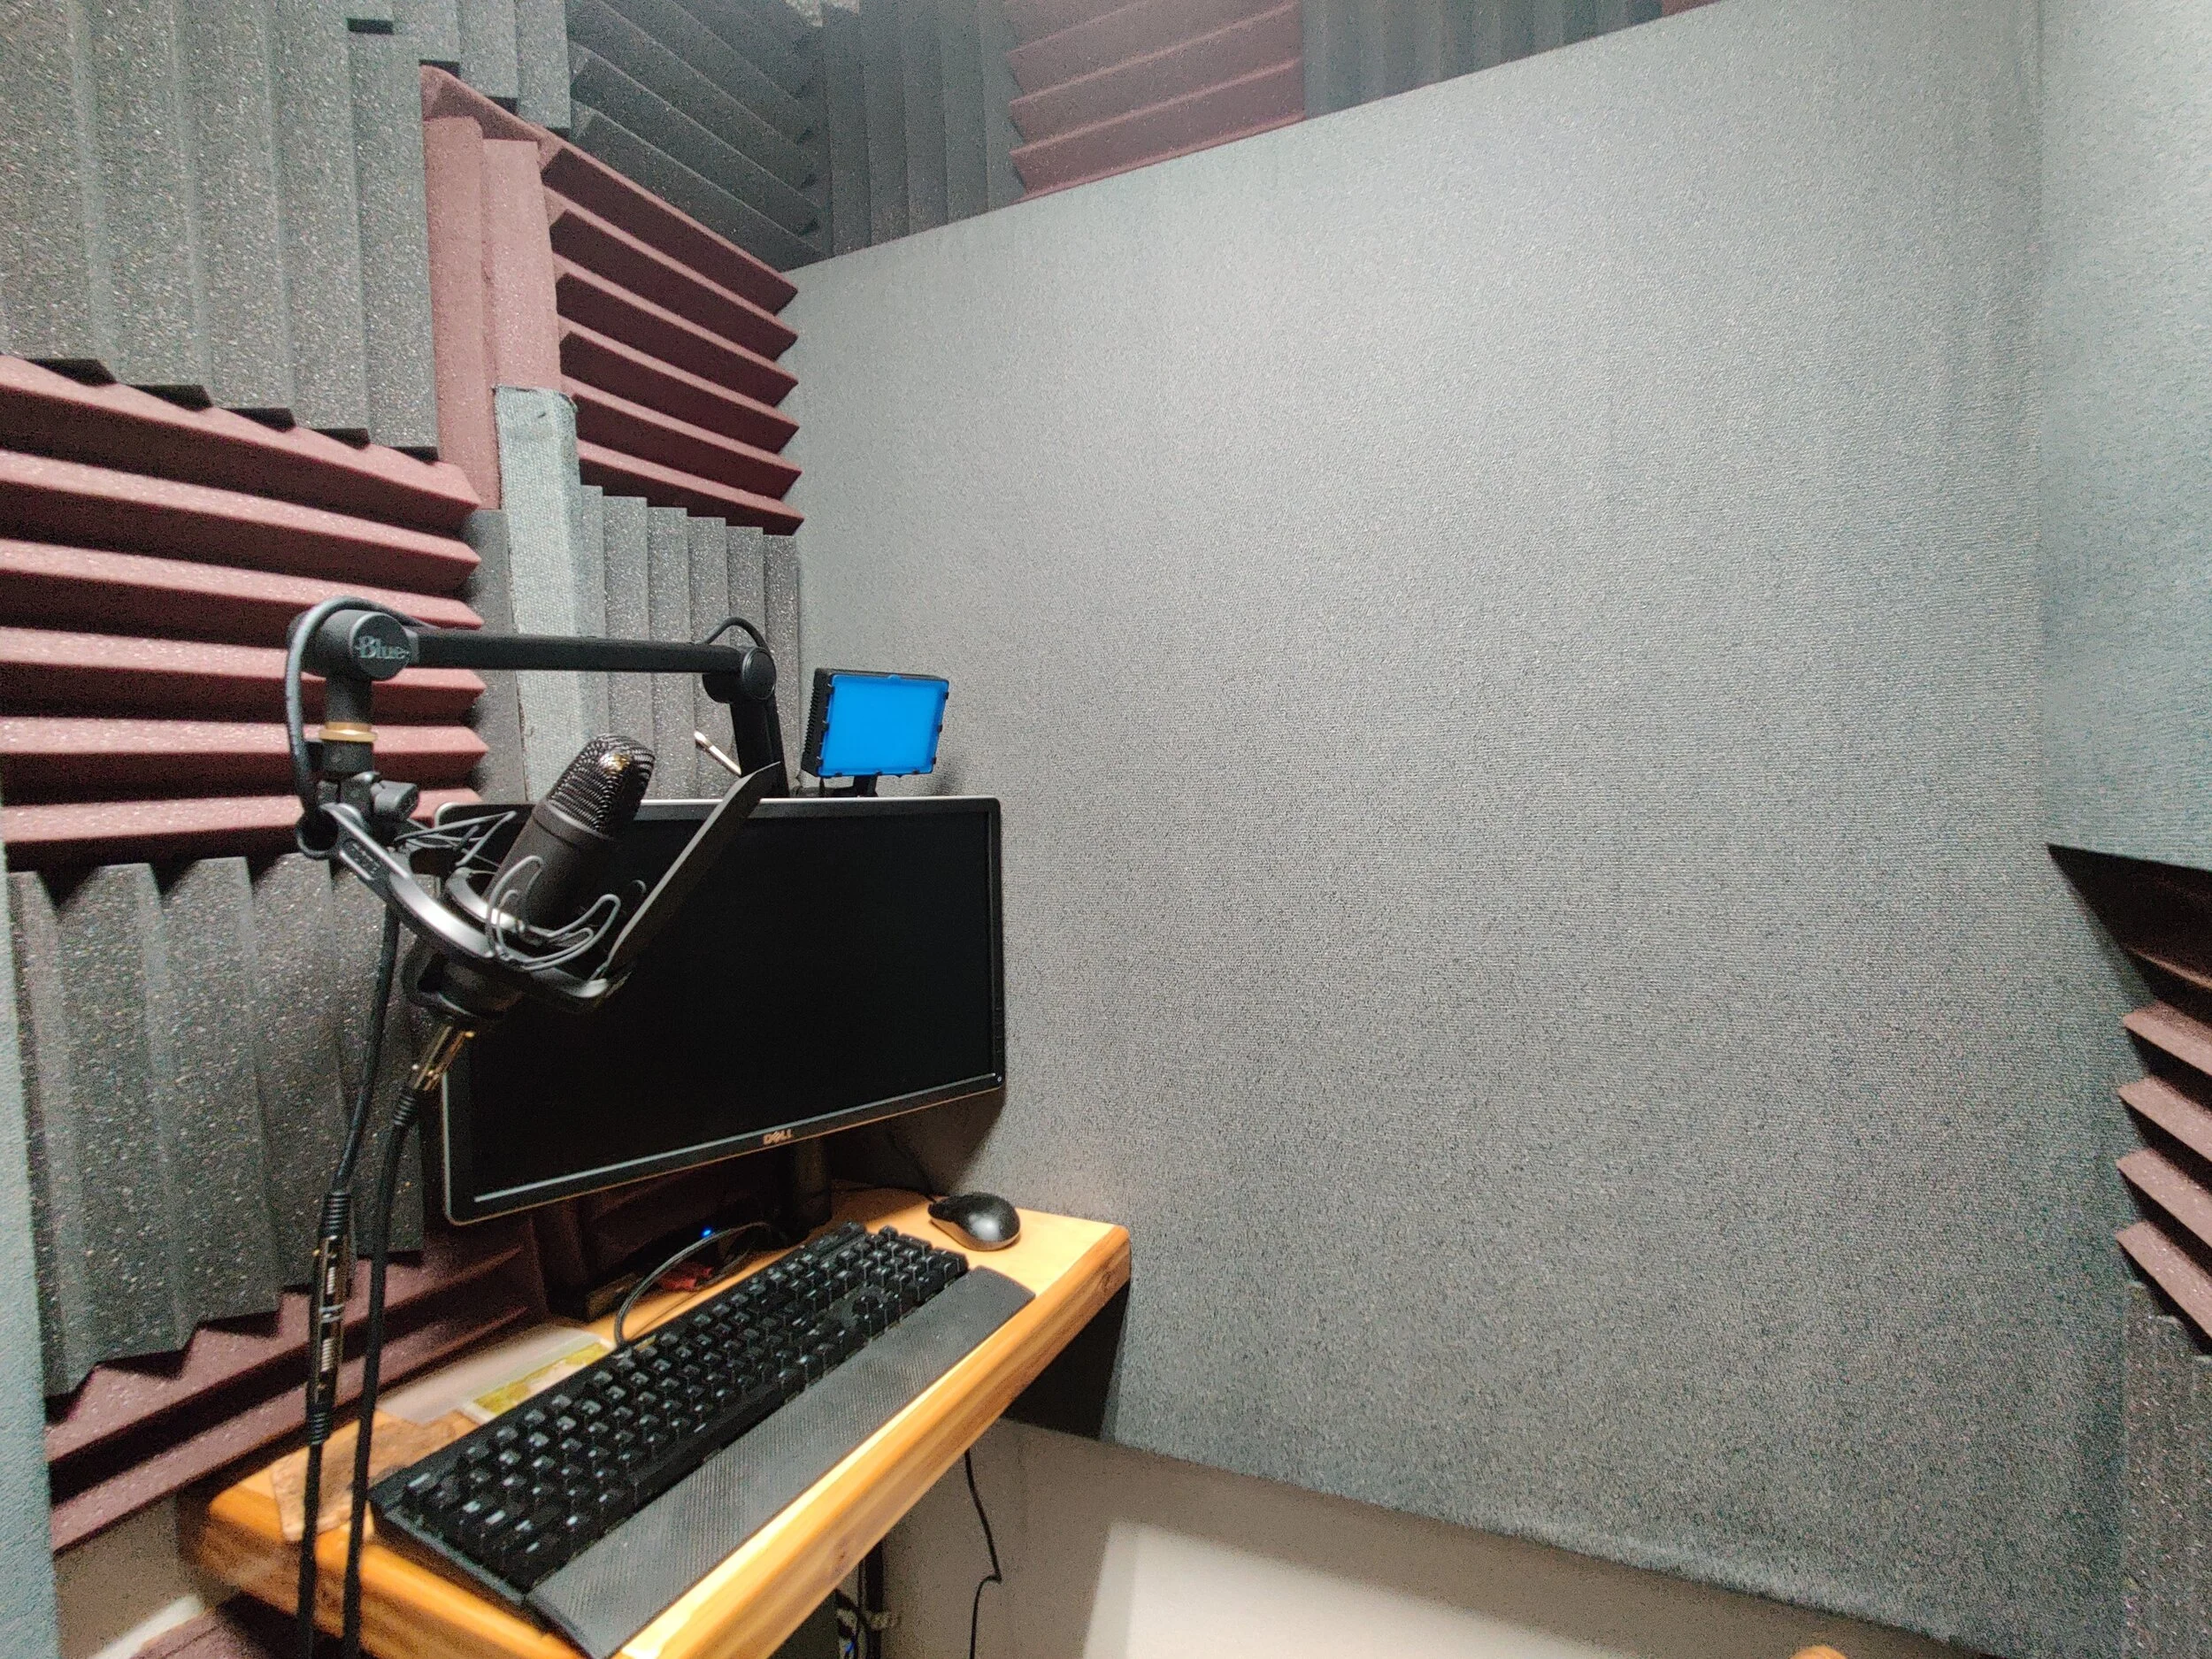
Vocal Booth
See below
Vocal Booth Build
When I was fresh out of high-school I helped a carpenter build a vocal booth for a self-help company that recorded audiotapes. I learned a lot of lessons on that project, but I never thought I’d have a vocal booth in my own home one day.
Flash forward to 2017 and I'm an Instructional Designer routinely recording audio for my own eLearning courses. I was growing tired of recording in the master bedroom closet with my Blue Snowball, so with permission from my wife, I decided to convert an unused closet into a Vocal Booth and upgrade my hardware.
Pictures of the build can be found below.

The first part of the vocal booth project started here in my friend's workshop. This project was only possible because of his assistance drafting the plans, cutting the wood, and assembling the frames.

All the lumber was cut down to the correct size to build the frames for the acoustic panels.

Here is a shot of the almost completed frame. The size was built to house a 24" x 48" piece of insulation without requiring any cutting. After transferring the frames back to my workshop, I am preparing to lay the insulation in place.

Here are the finished frames. 4 frames to house the 24" x 48" foam and 1 larger frame that was just shy of two 24" x 48" pieces side by side. The bigger panel was built because two smaller panels would not have fit side-by-side on my back wall. With the larger panel, it is a very snug fit, but it works well. Corner supports should hold the insulation flush to the front of the panels and the middle piece of wood is to support the frame.
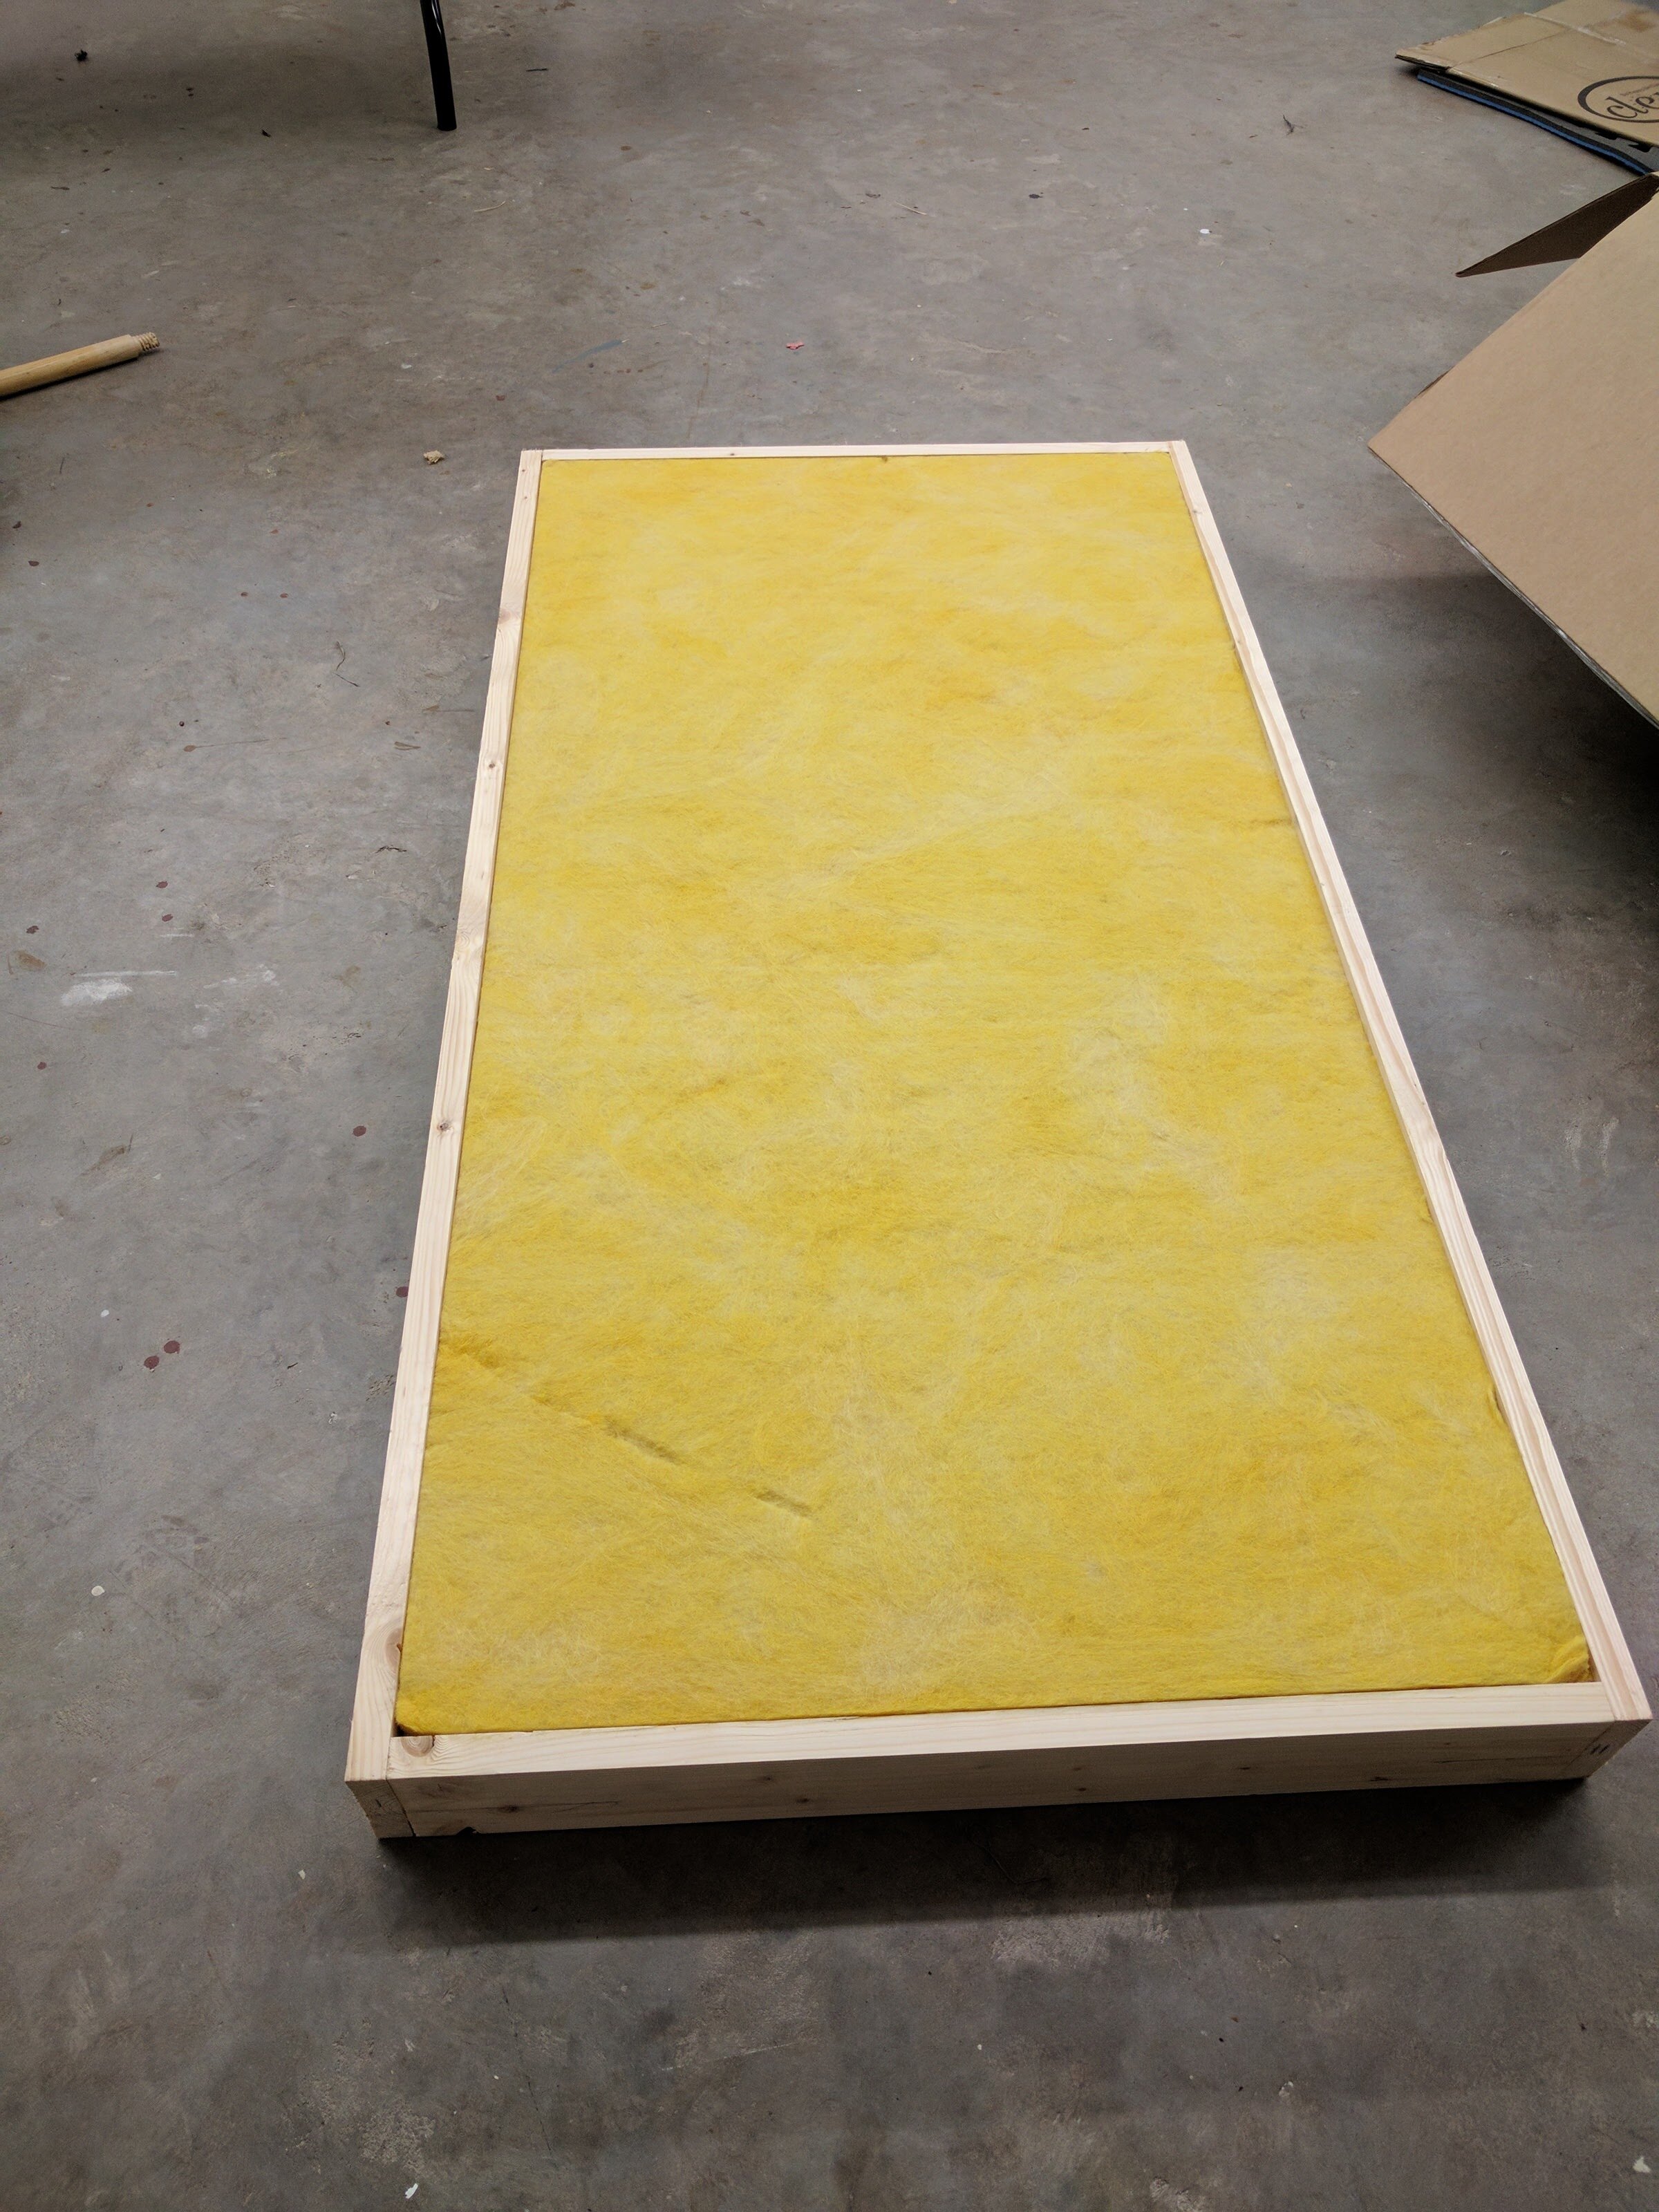
Success! The shelves we built into the frame are doing a great job of ensuring the foam is flush against the front.
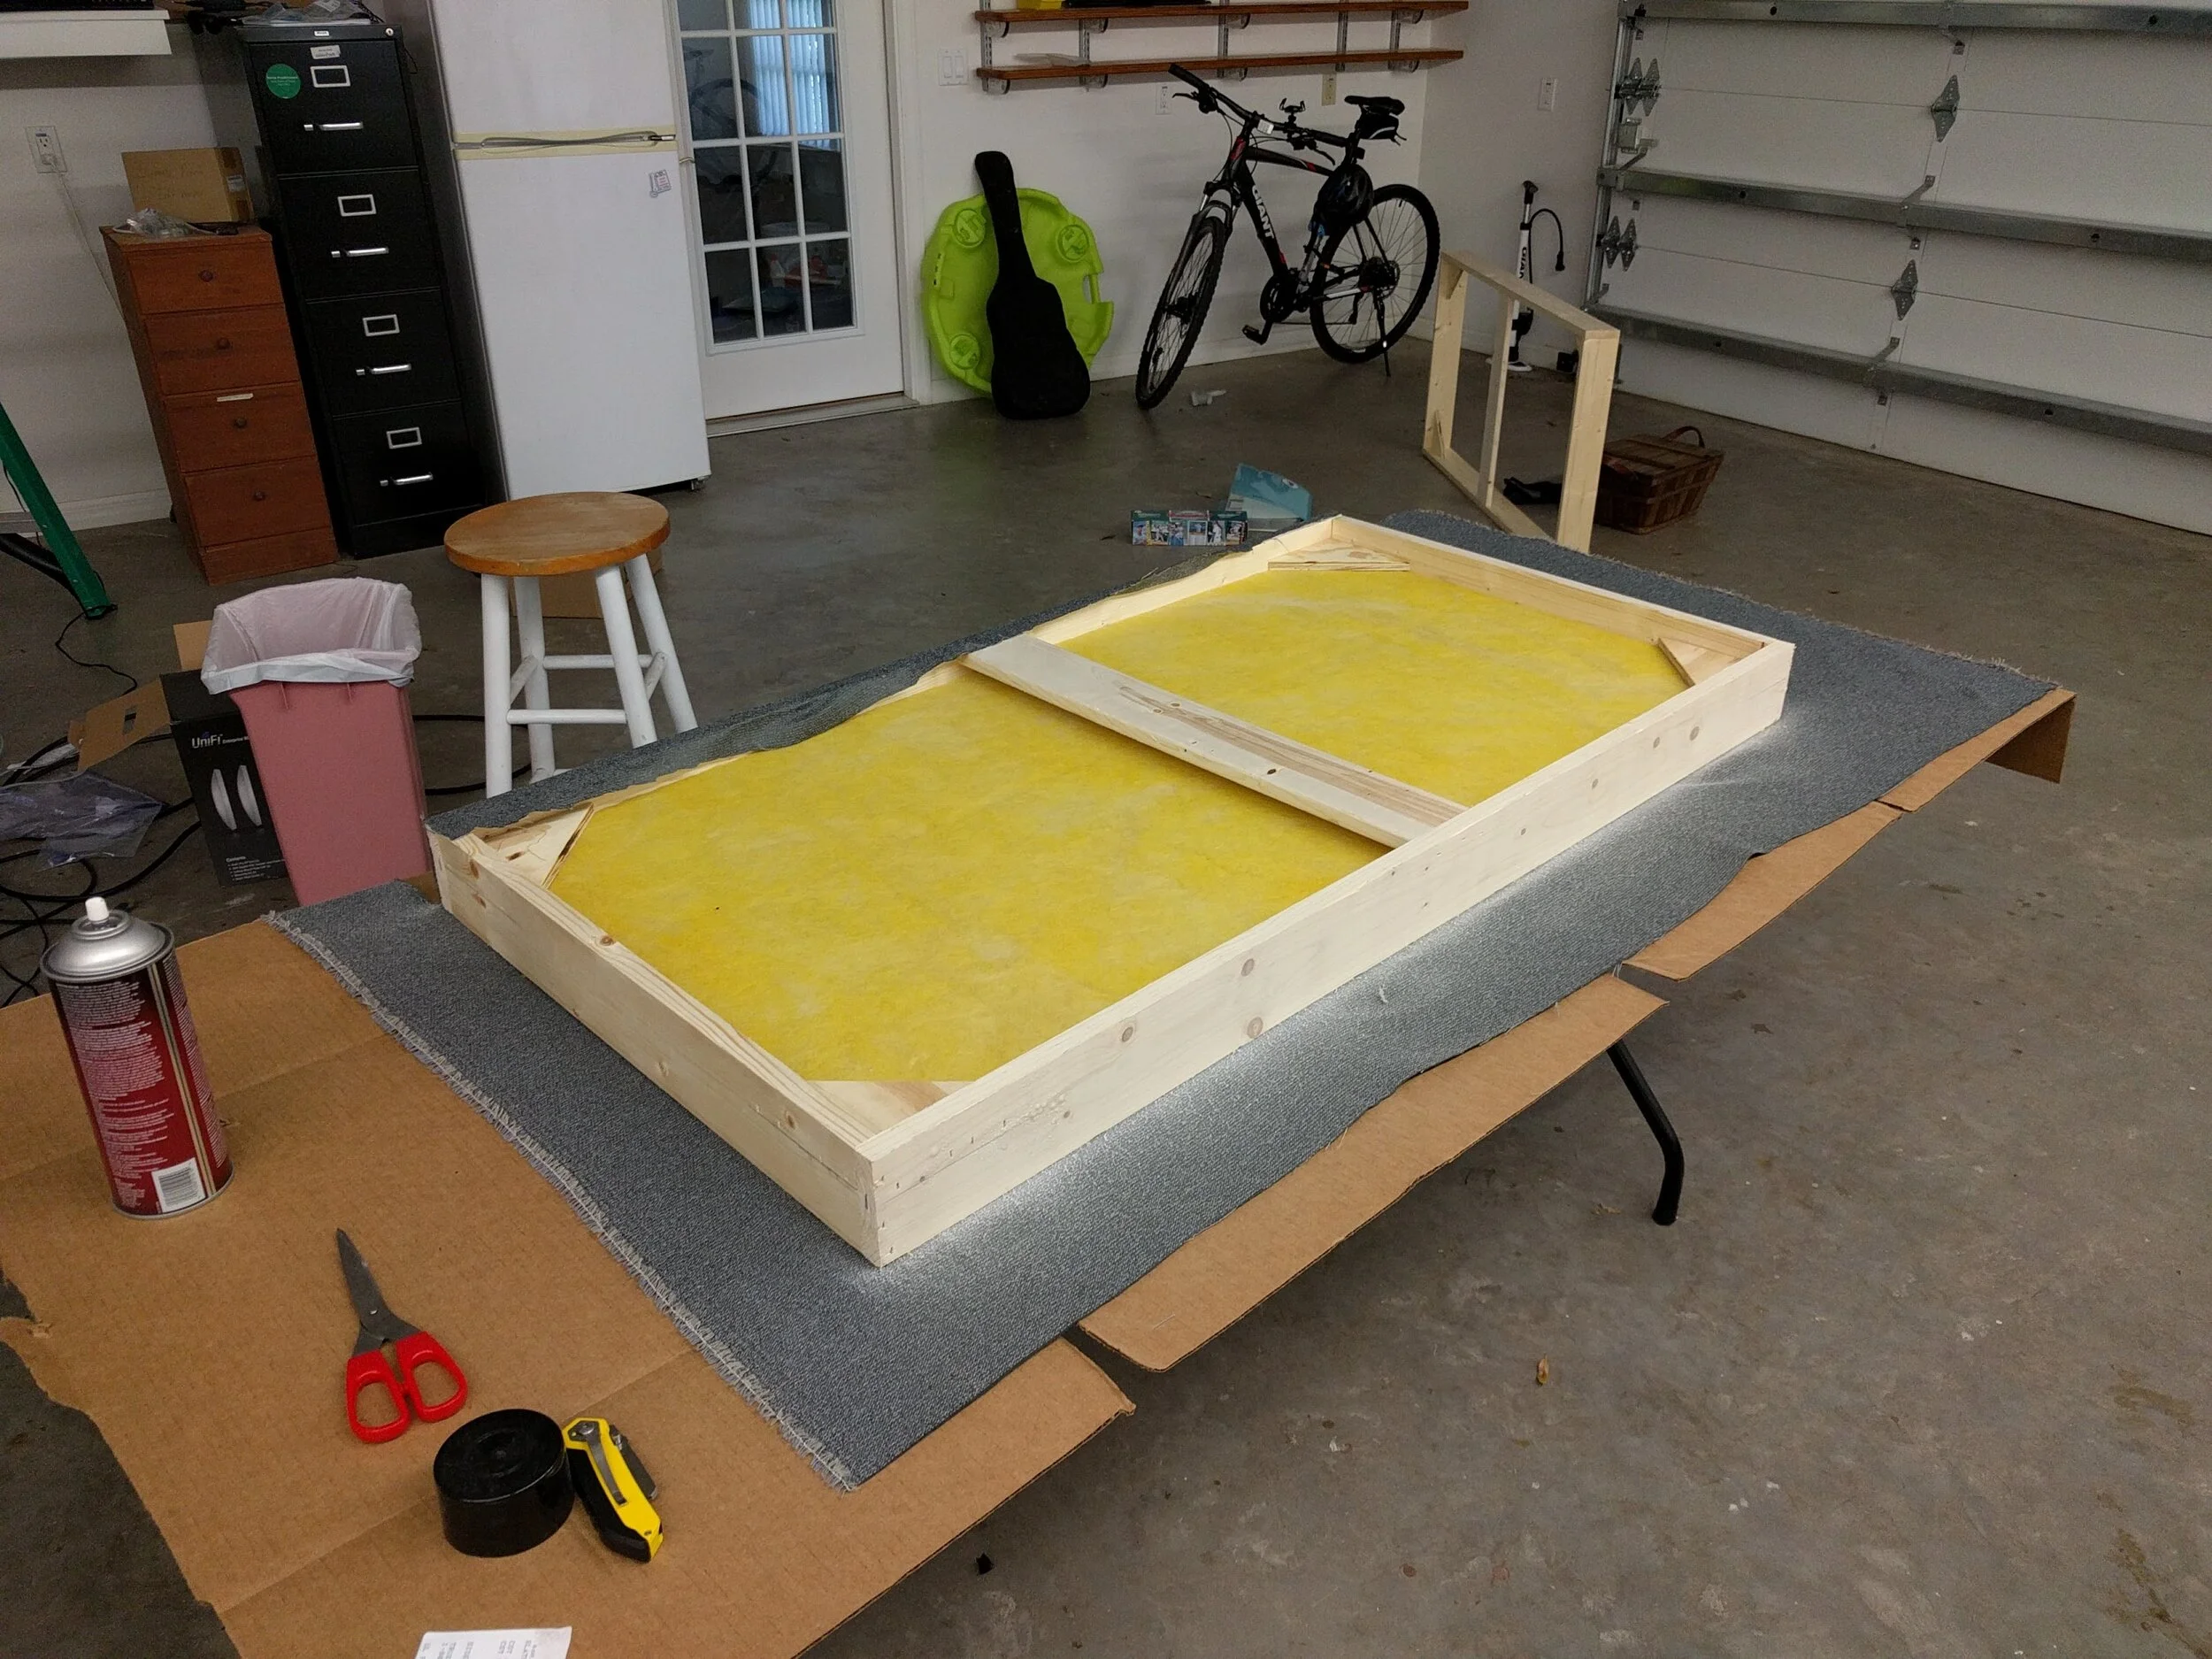
Next step was to start cutting and fitting the fabric to the frame. This required lots of patience and spray adhesive.

Long sides complete, moving to the short ends.

Long sides complete, moving to the short ends.
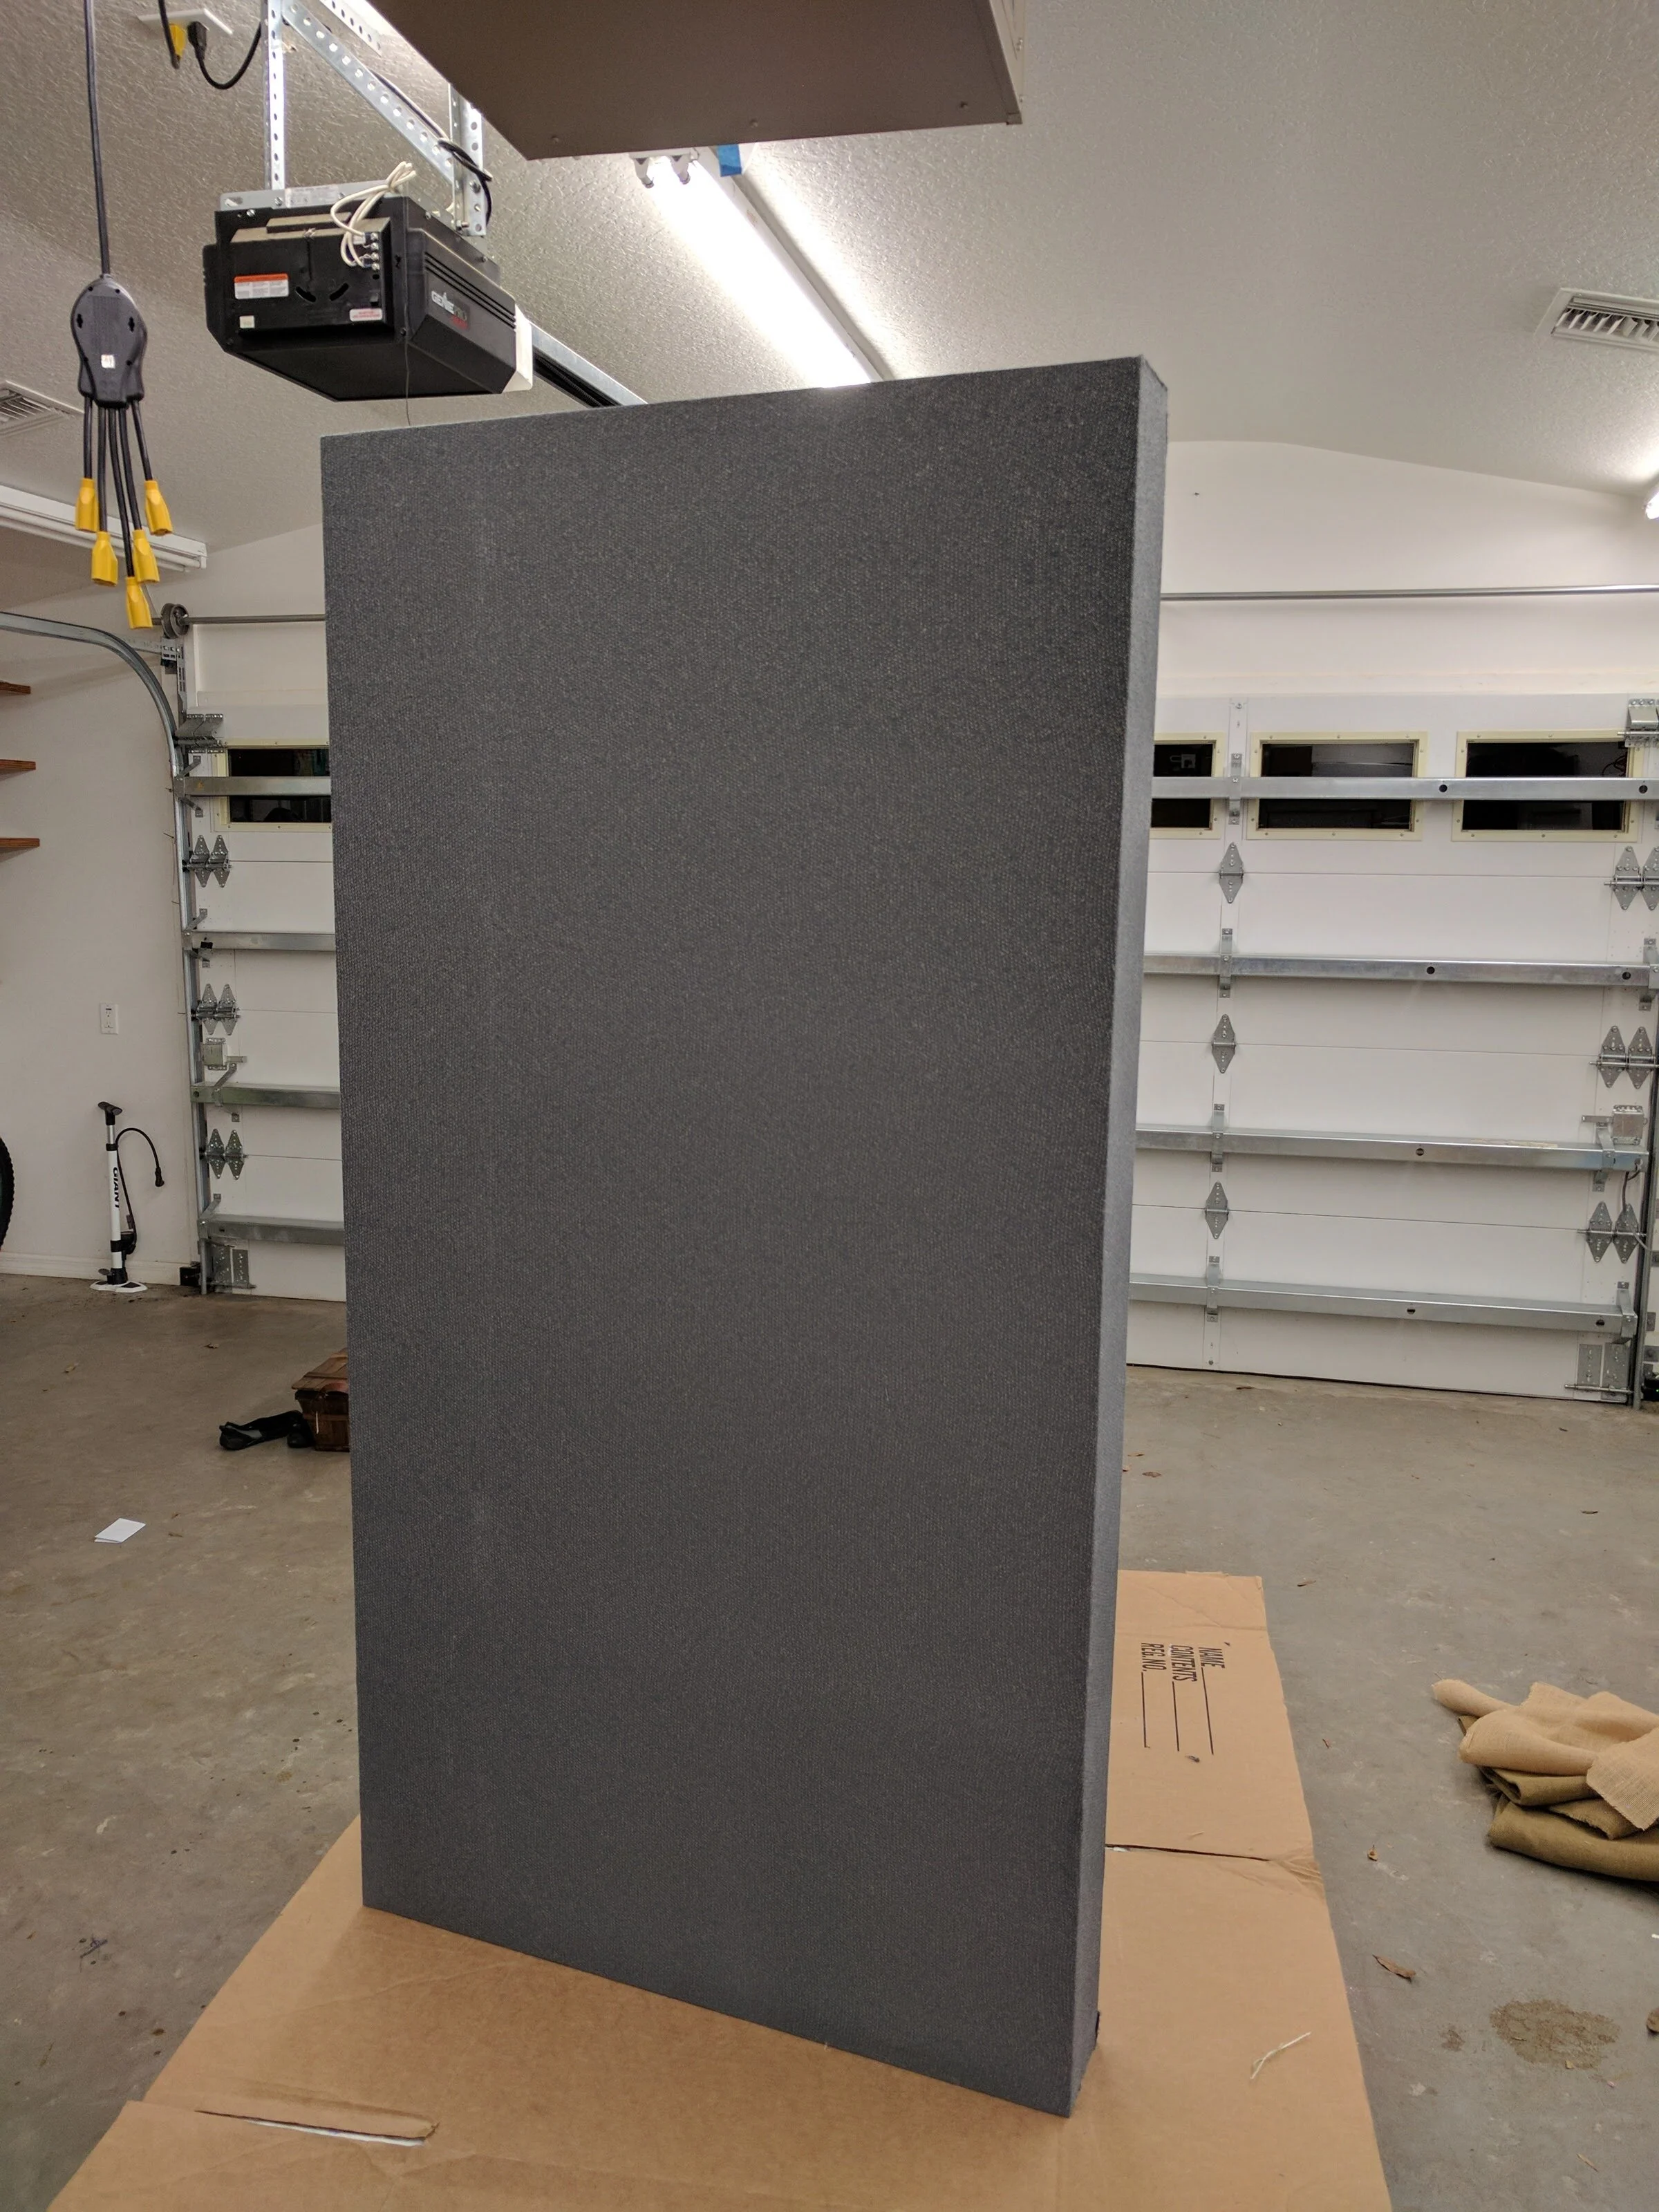
Here is the finished panel after it has been wrapped with fabric and stapled in the back for extra support. What you can't see is the finished back. Because I used fiberglass insulation, it was necessary to fully enclose the back of these panels to prevent fiberglass particles from getting into the air. I used much cheaper burlap material to enclose the back of the panels to keep cost down.
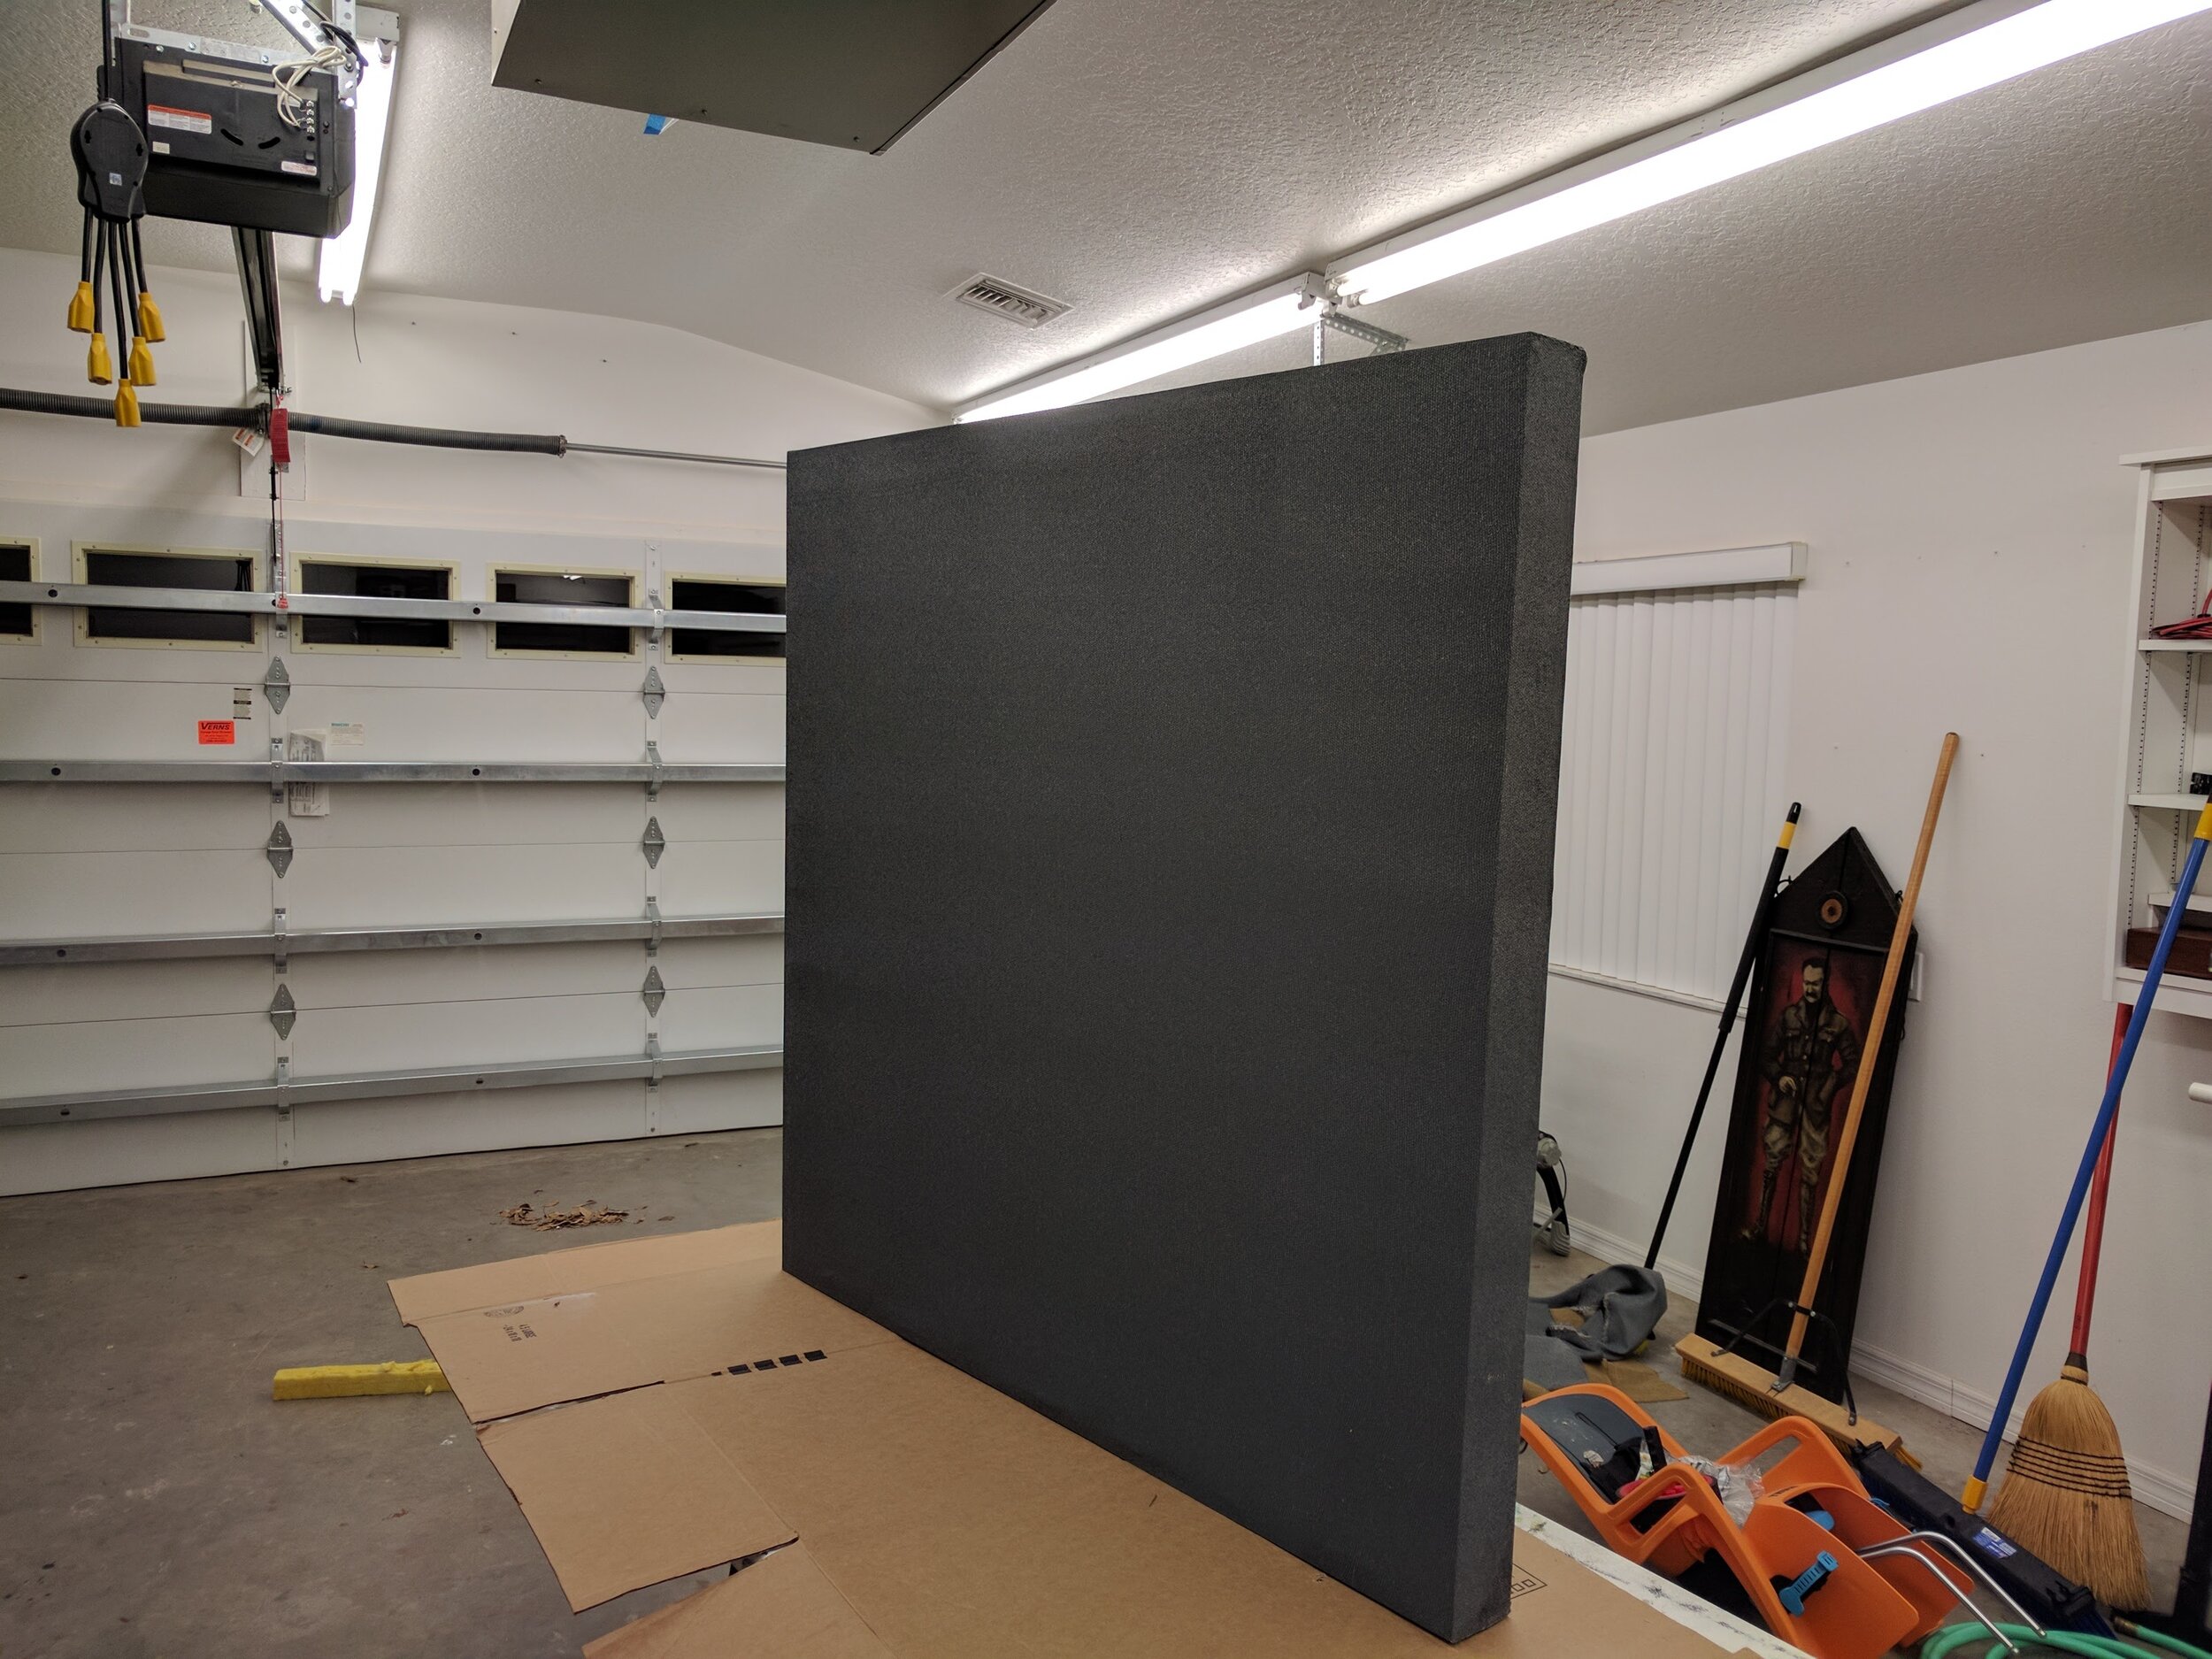
Here is the finished larger panel which goes on the back wall in the vocal booth.

These clean cuts on the fabric are brought to you by Project Runway.
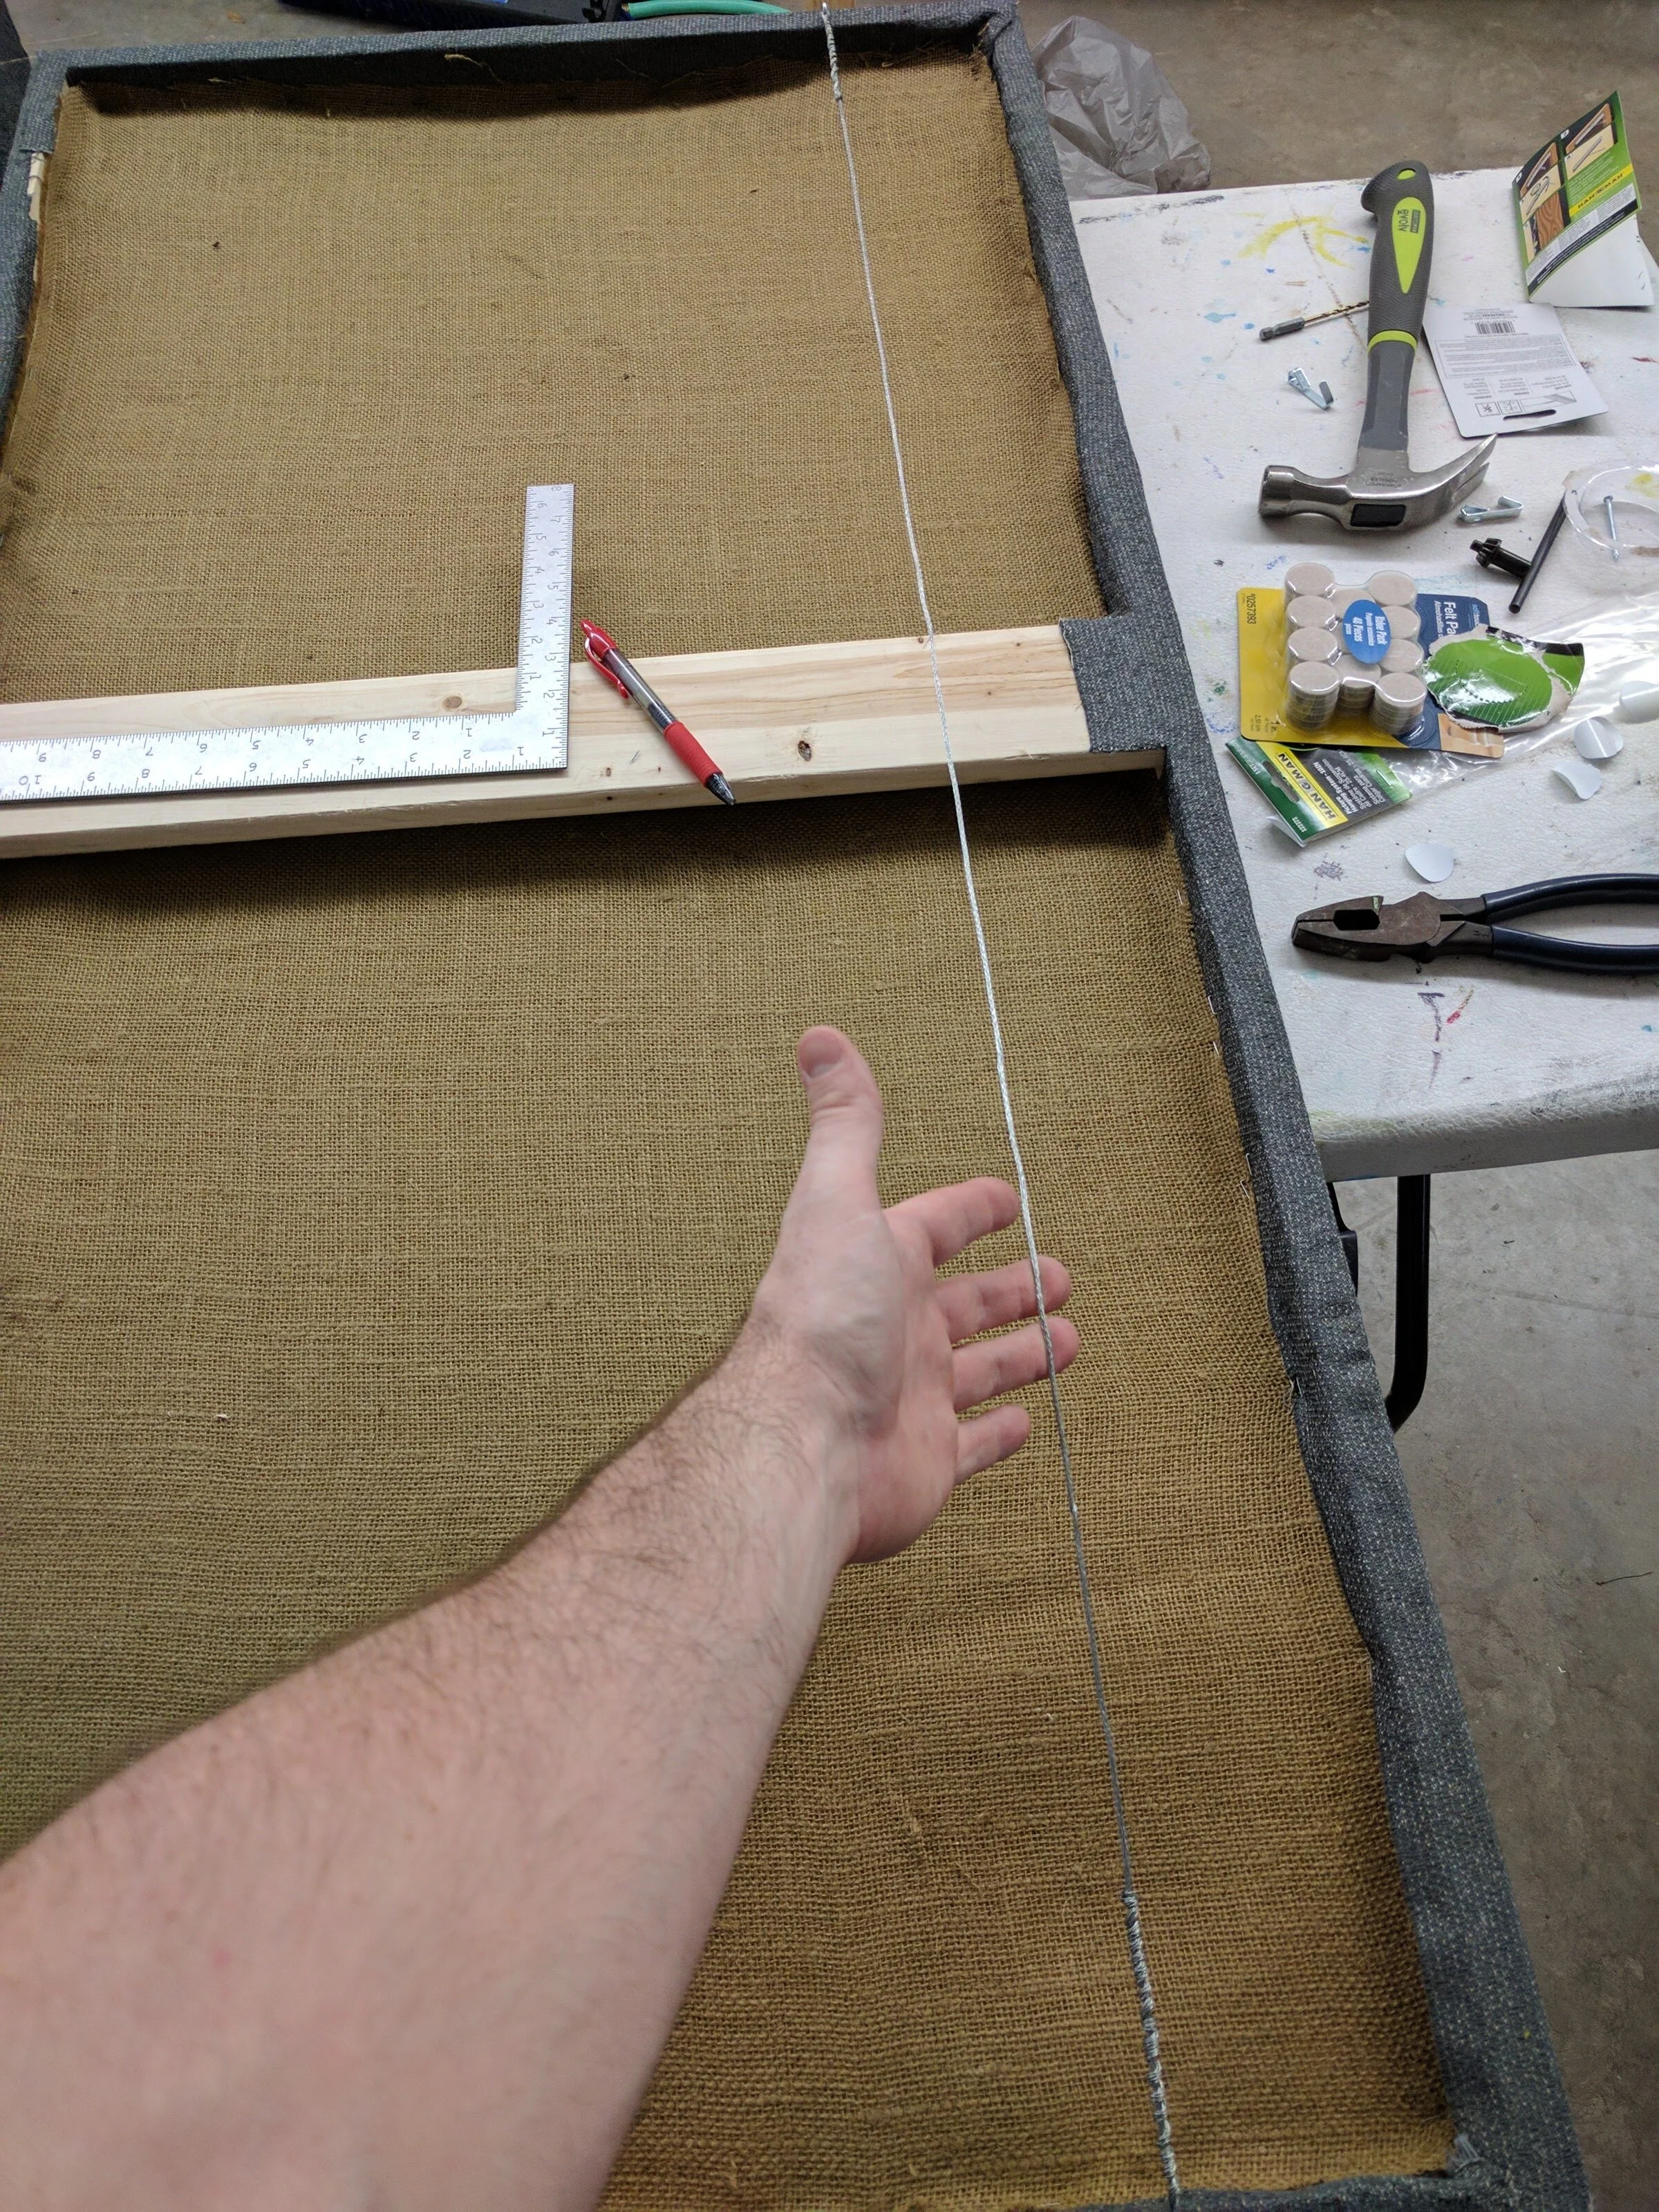
I didn't get too many shots of the back, but here you can see the finished back of the panel is burlap material. This keeps the fiberglass in and the cost down.
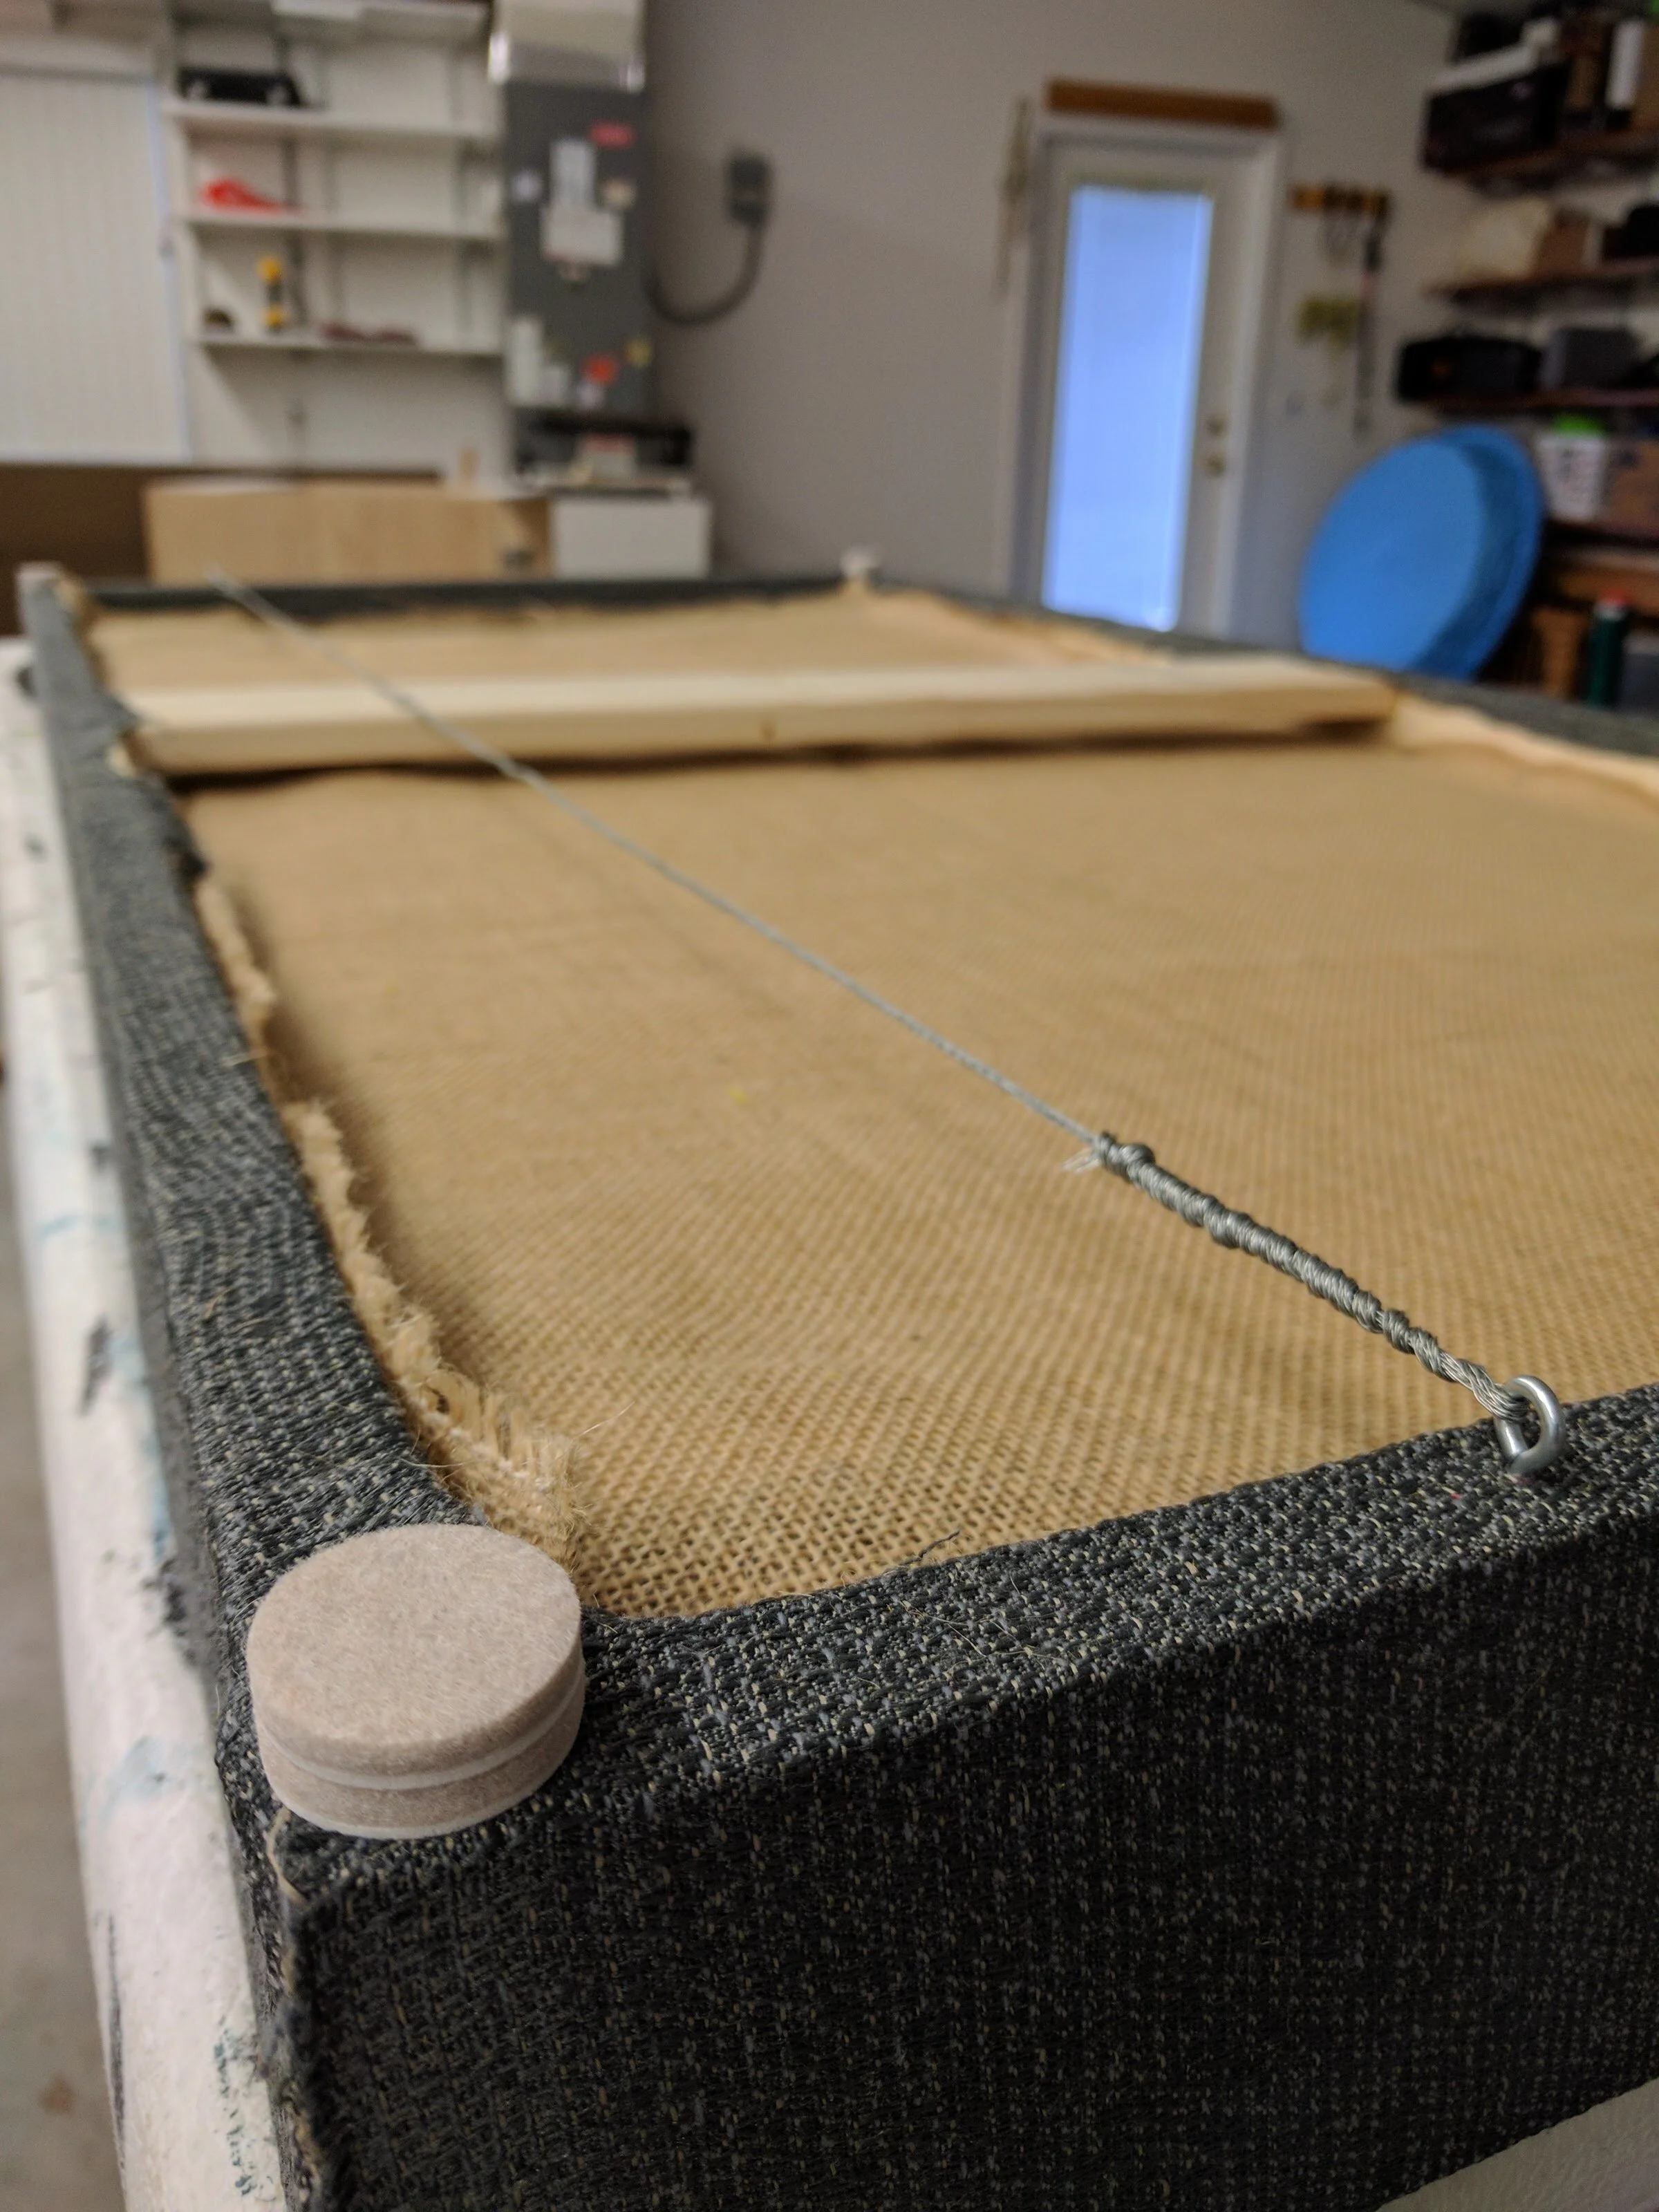
These feet were added to the corners to prevent the frames from sitting against the walls, which could lead to extra vibrations and possibly more noise.
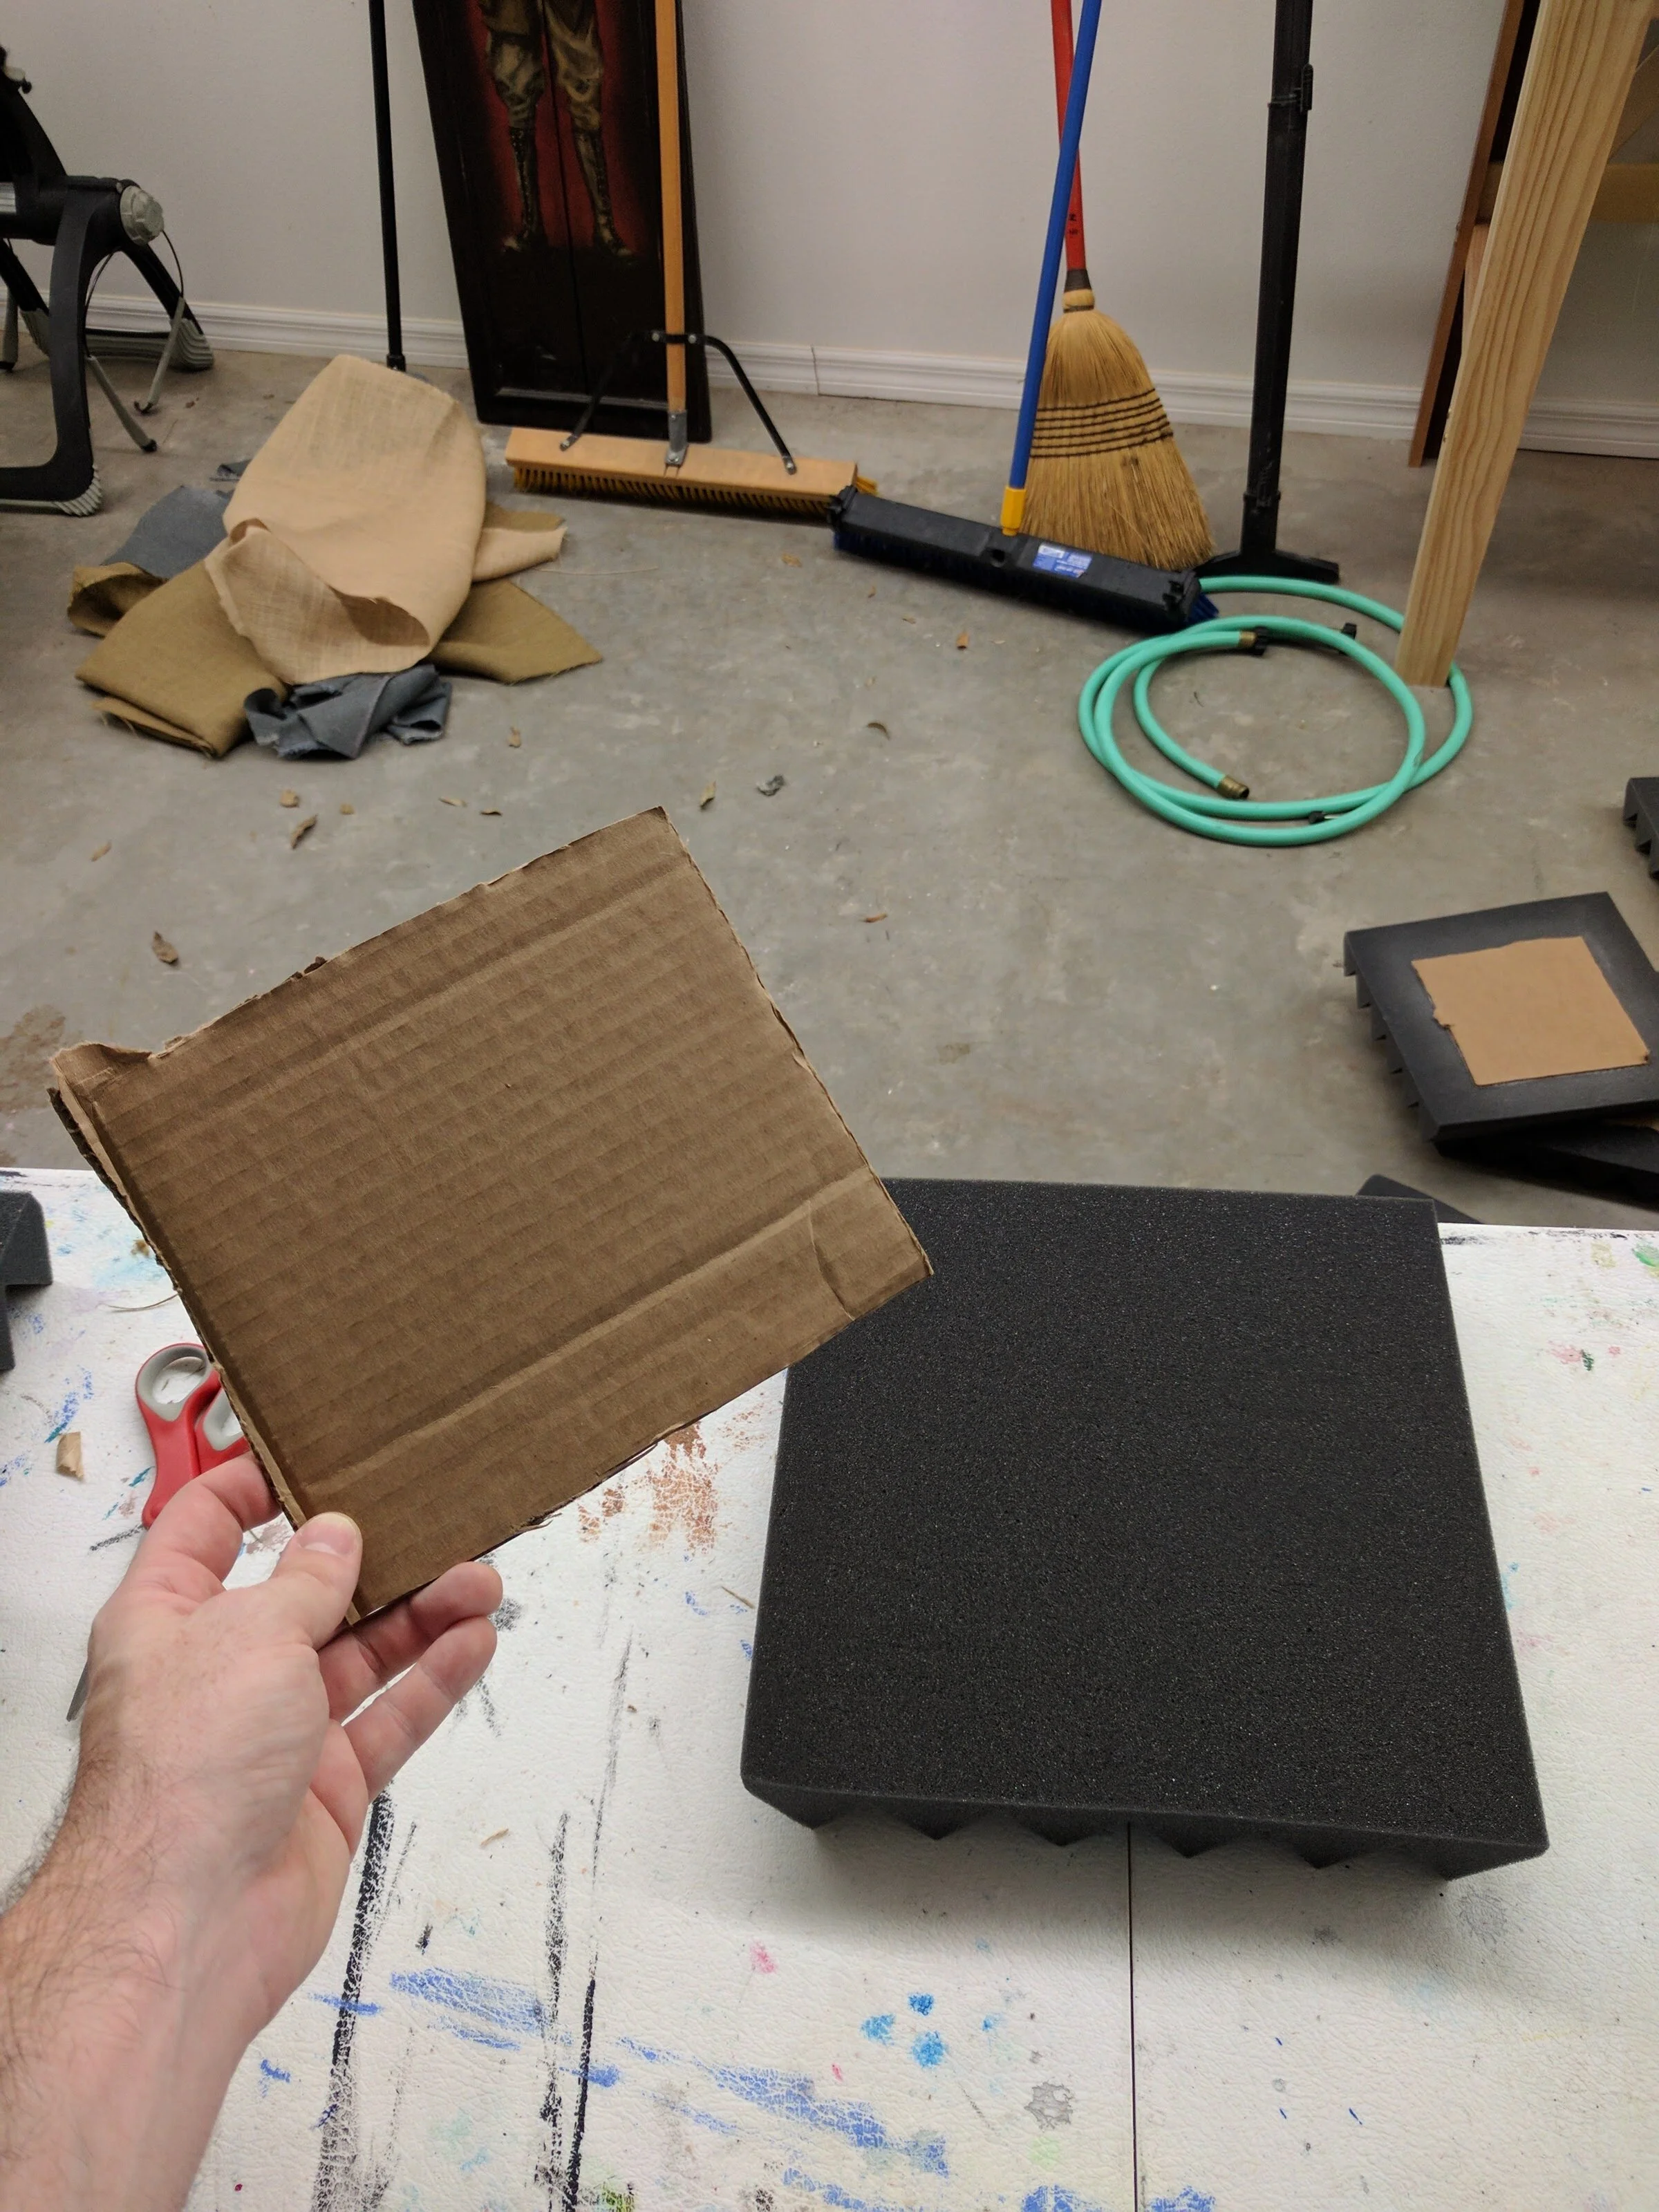
In addition to the custom panels I built, I have a lot of this acoustic foam as part of my vocal booth. This stuff is great, but spray adhesive this directly to the wall and you will never be able to remove it without damaging the foam or the wall significantly. The alternative approach I am using here is to glue the foam to a small piece of the cardboard then use double sided sticky tape to adhere the cardboard to the wall. This method works great because it preserves the foam panels for relocation in the future and does not damage the walls.
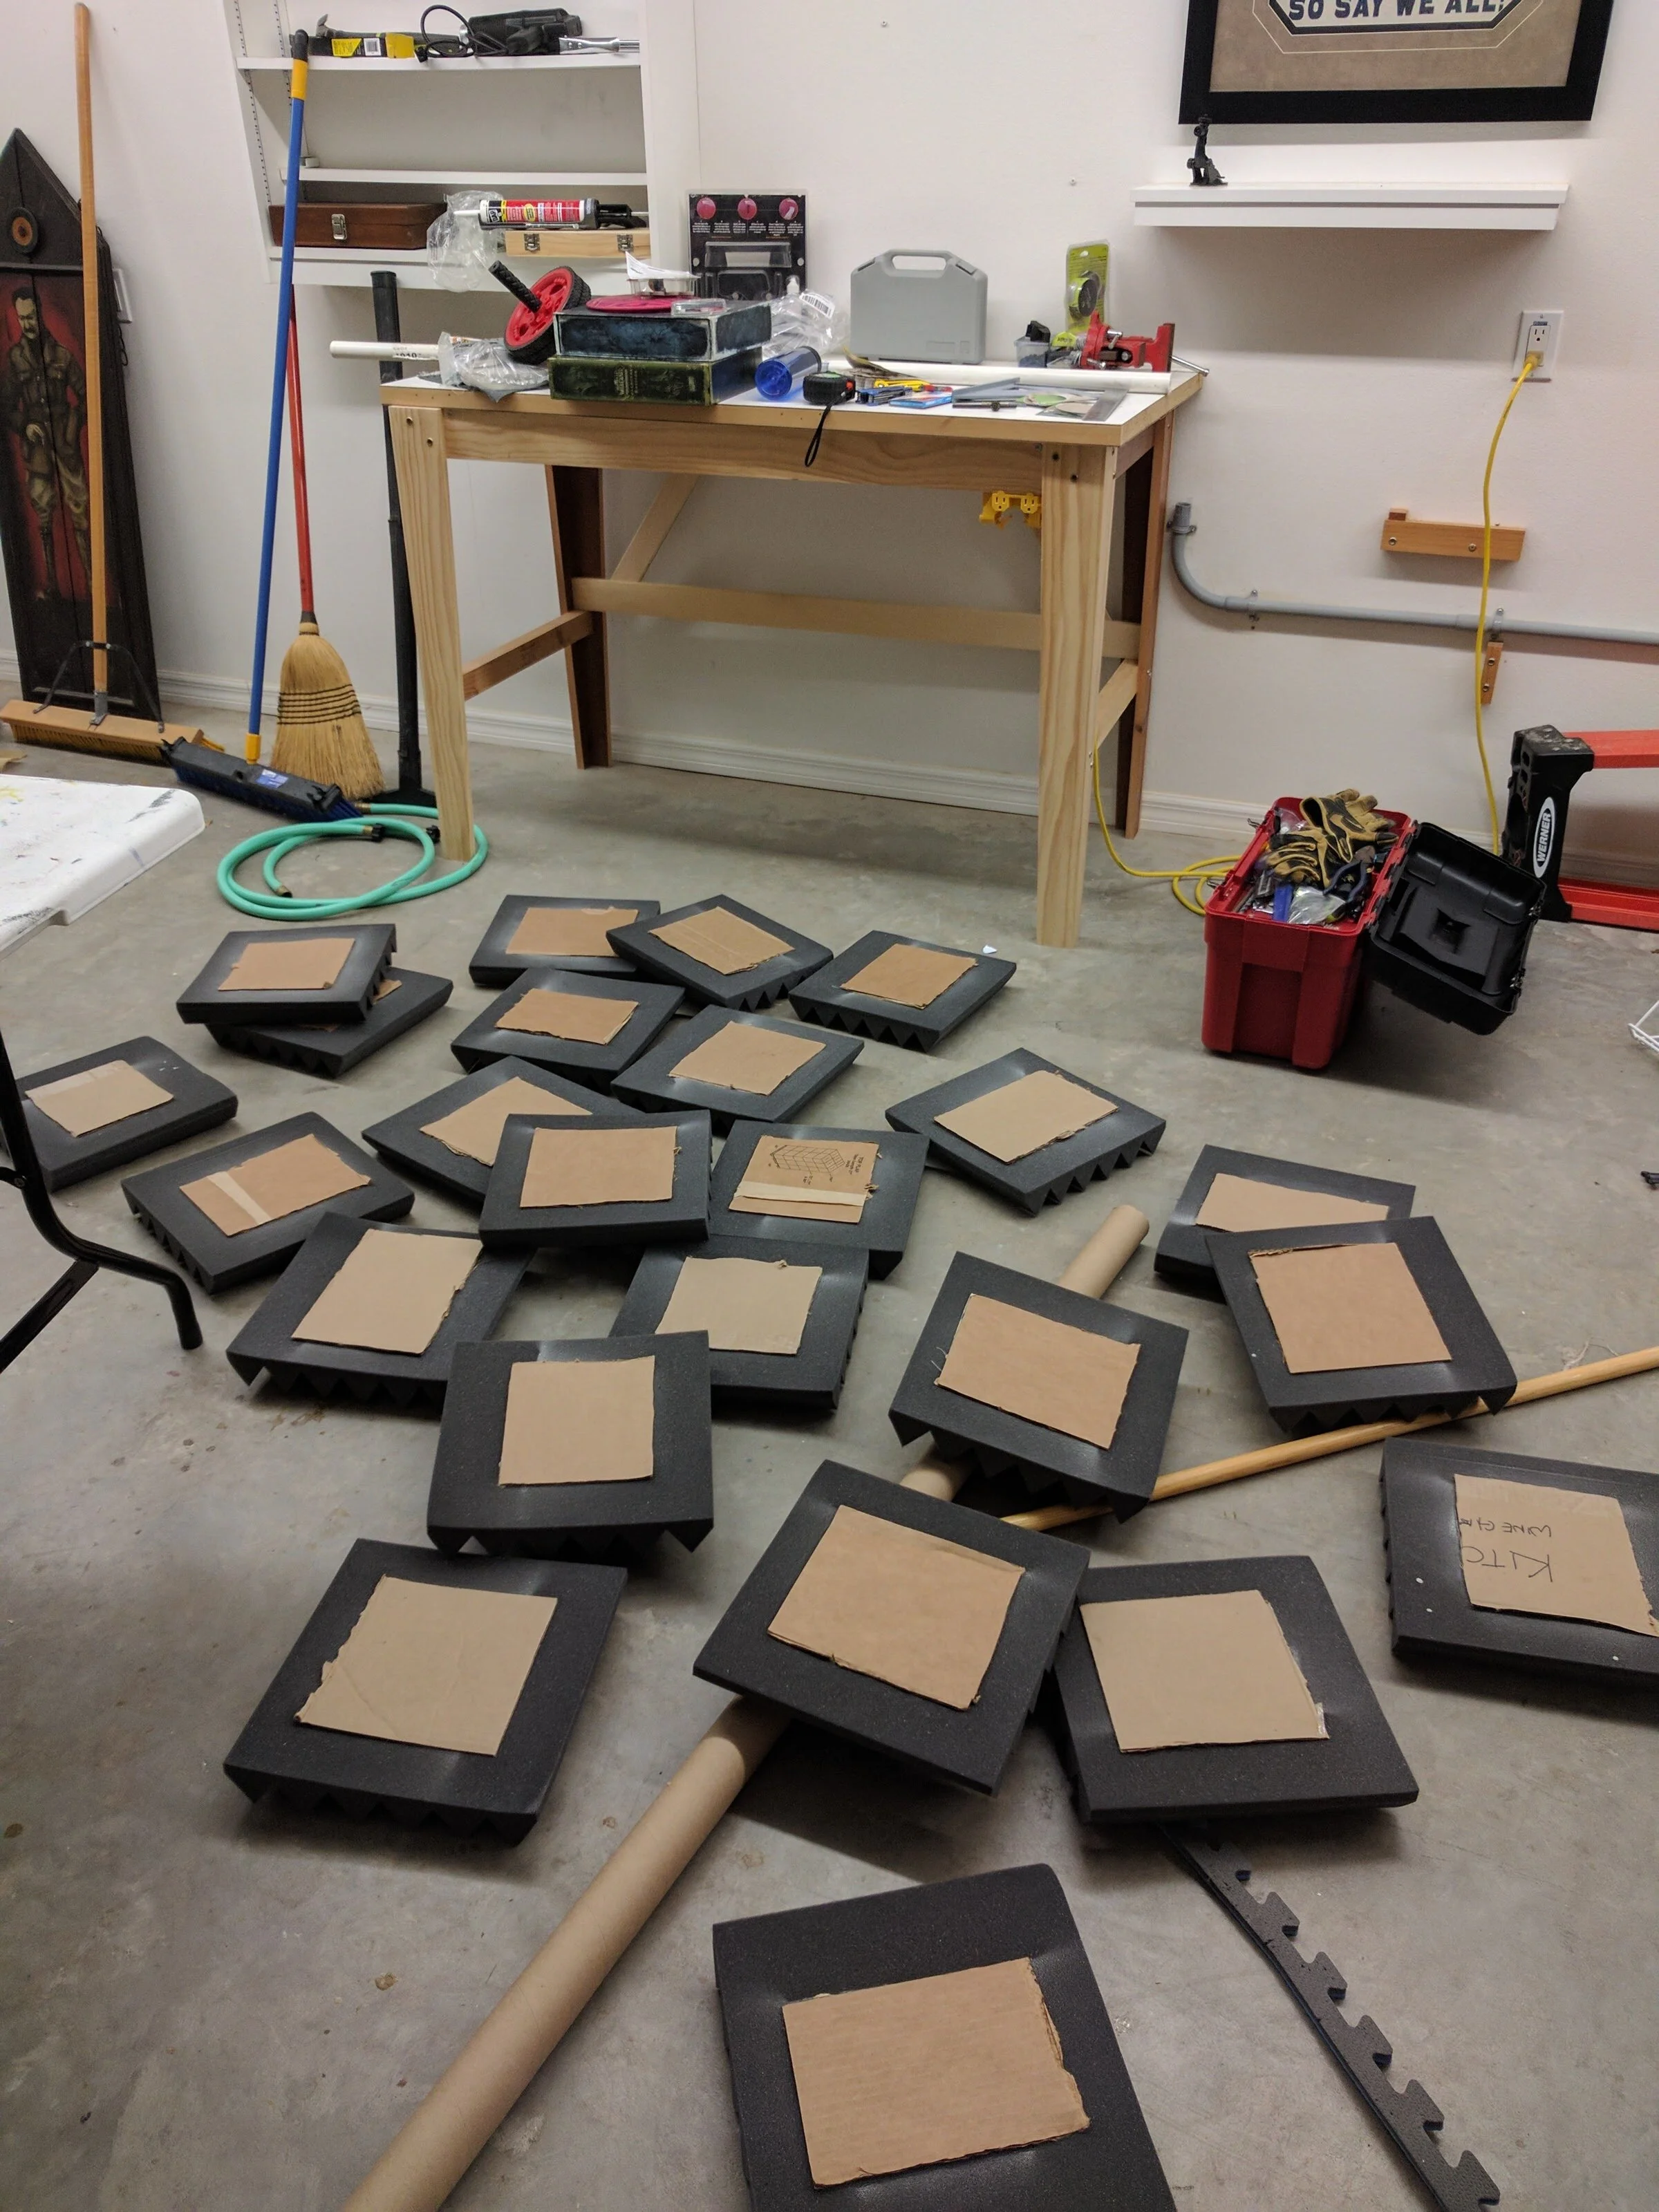
Attach spray and adhere cardboard 24 times.
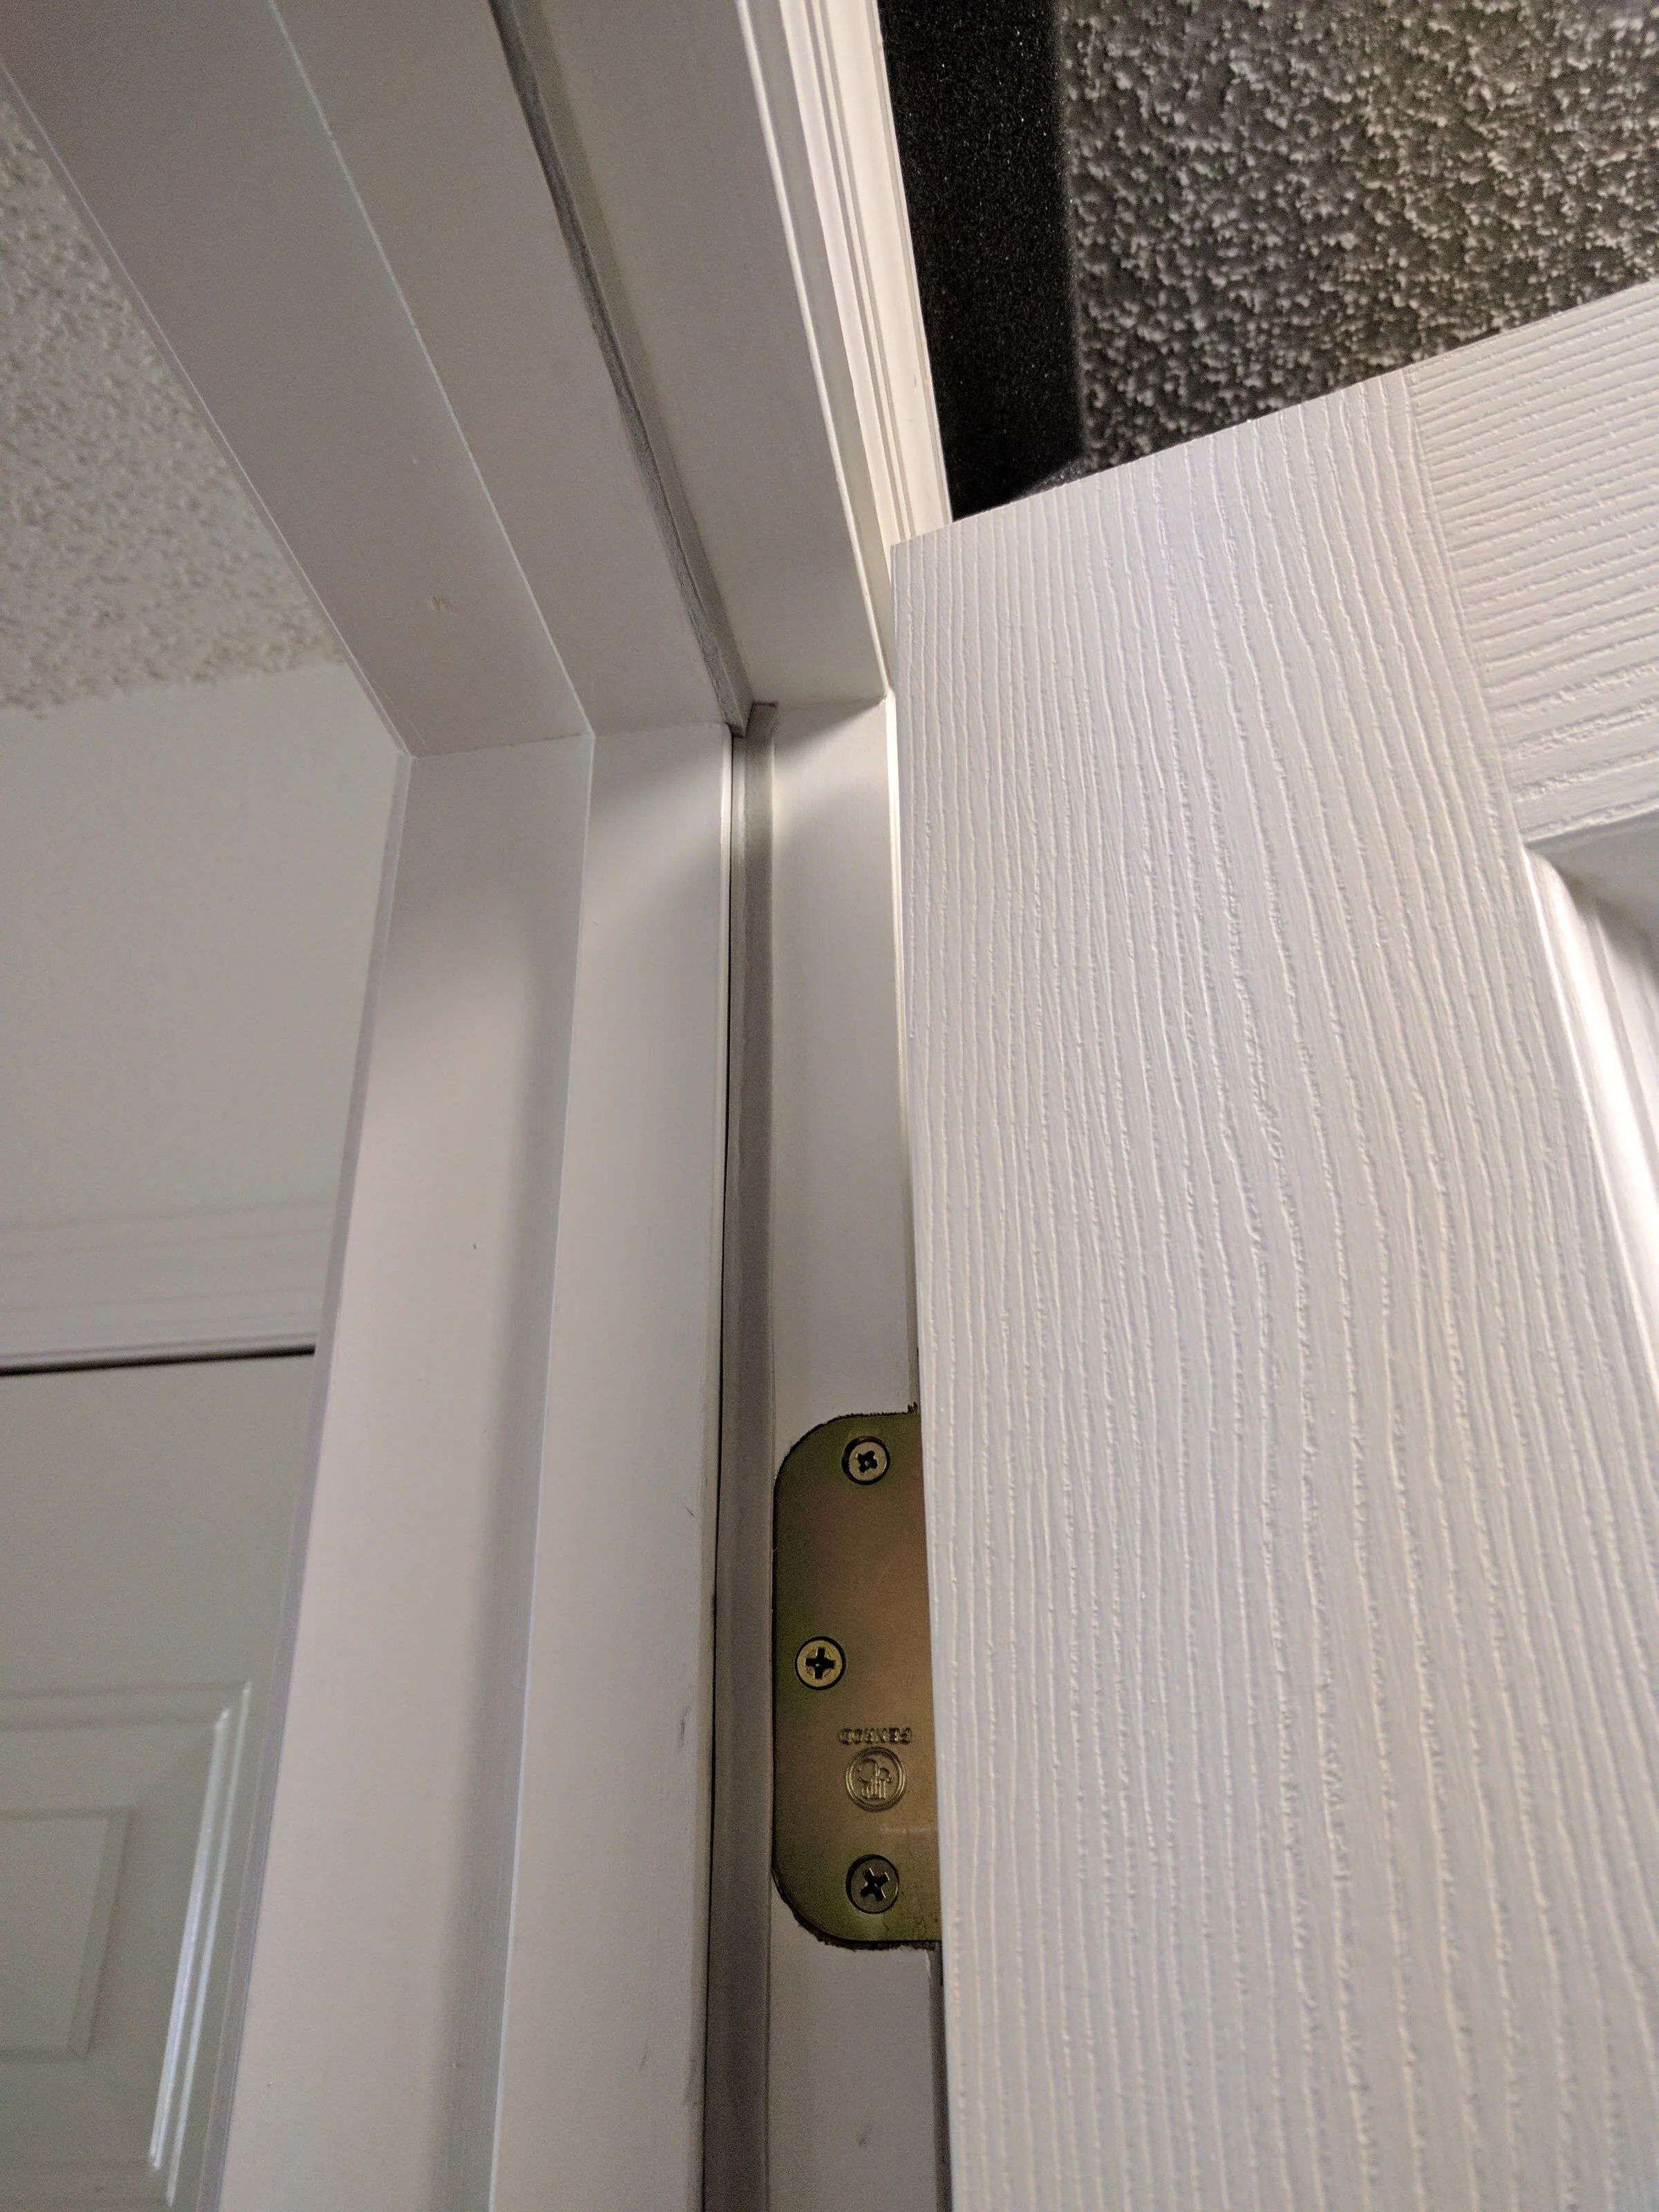
Added a seal around the door to keep air from coming through and eliminate additional sound.
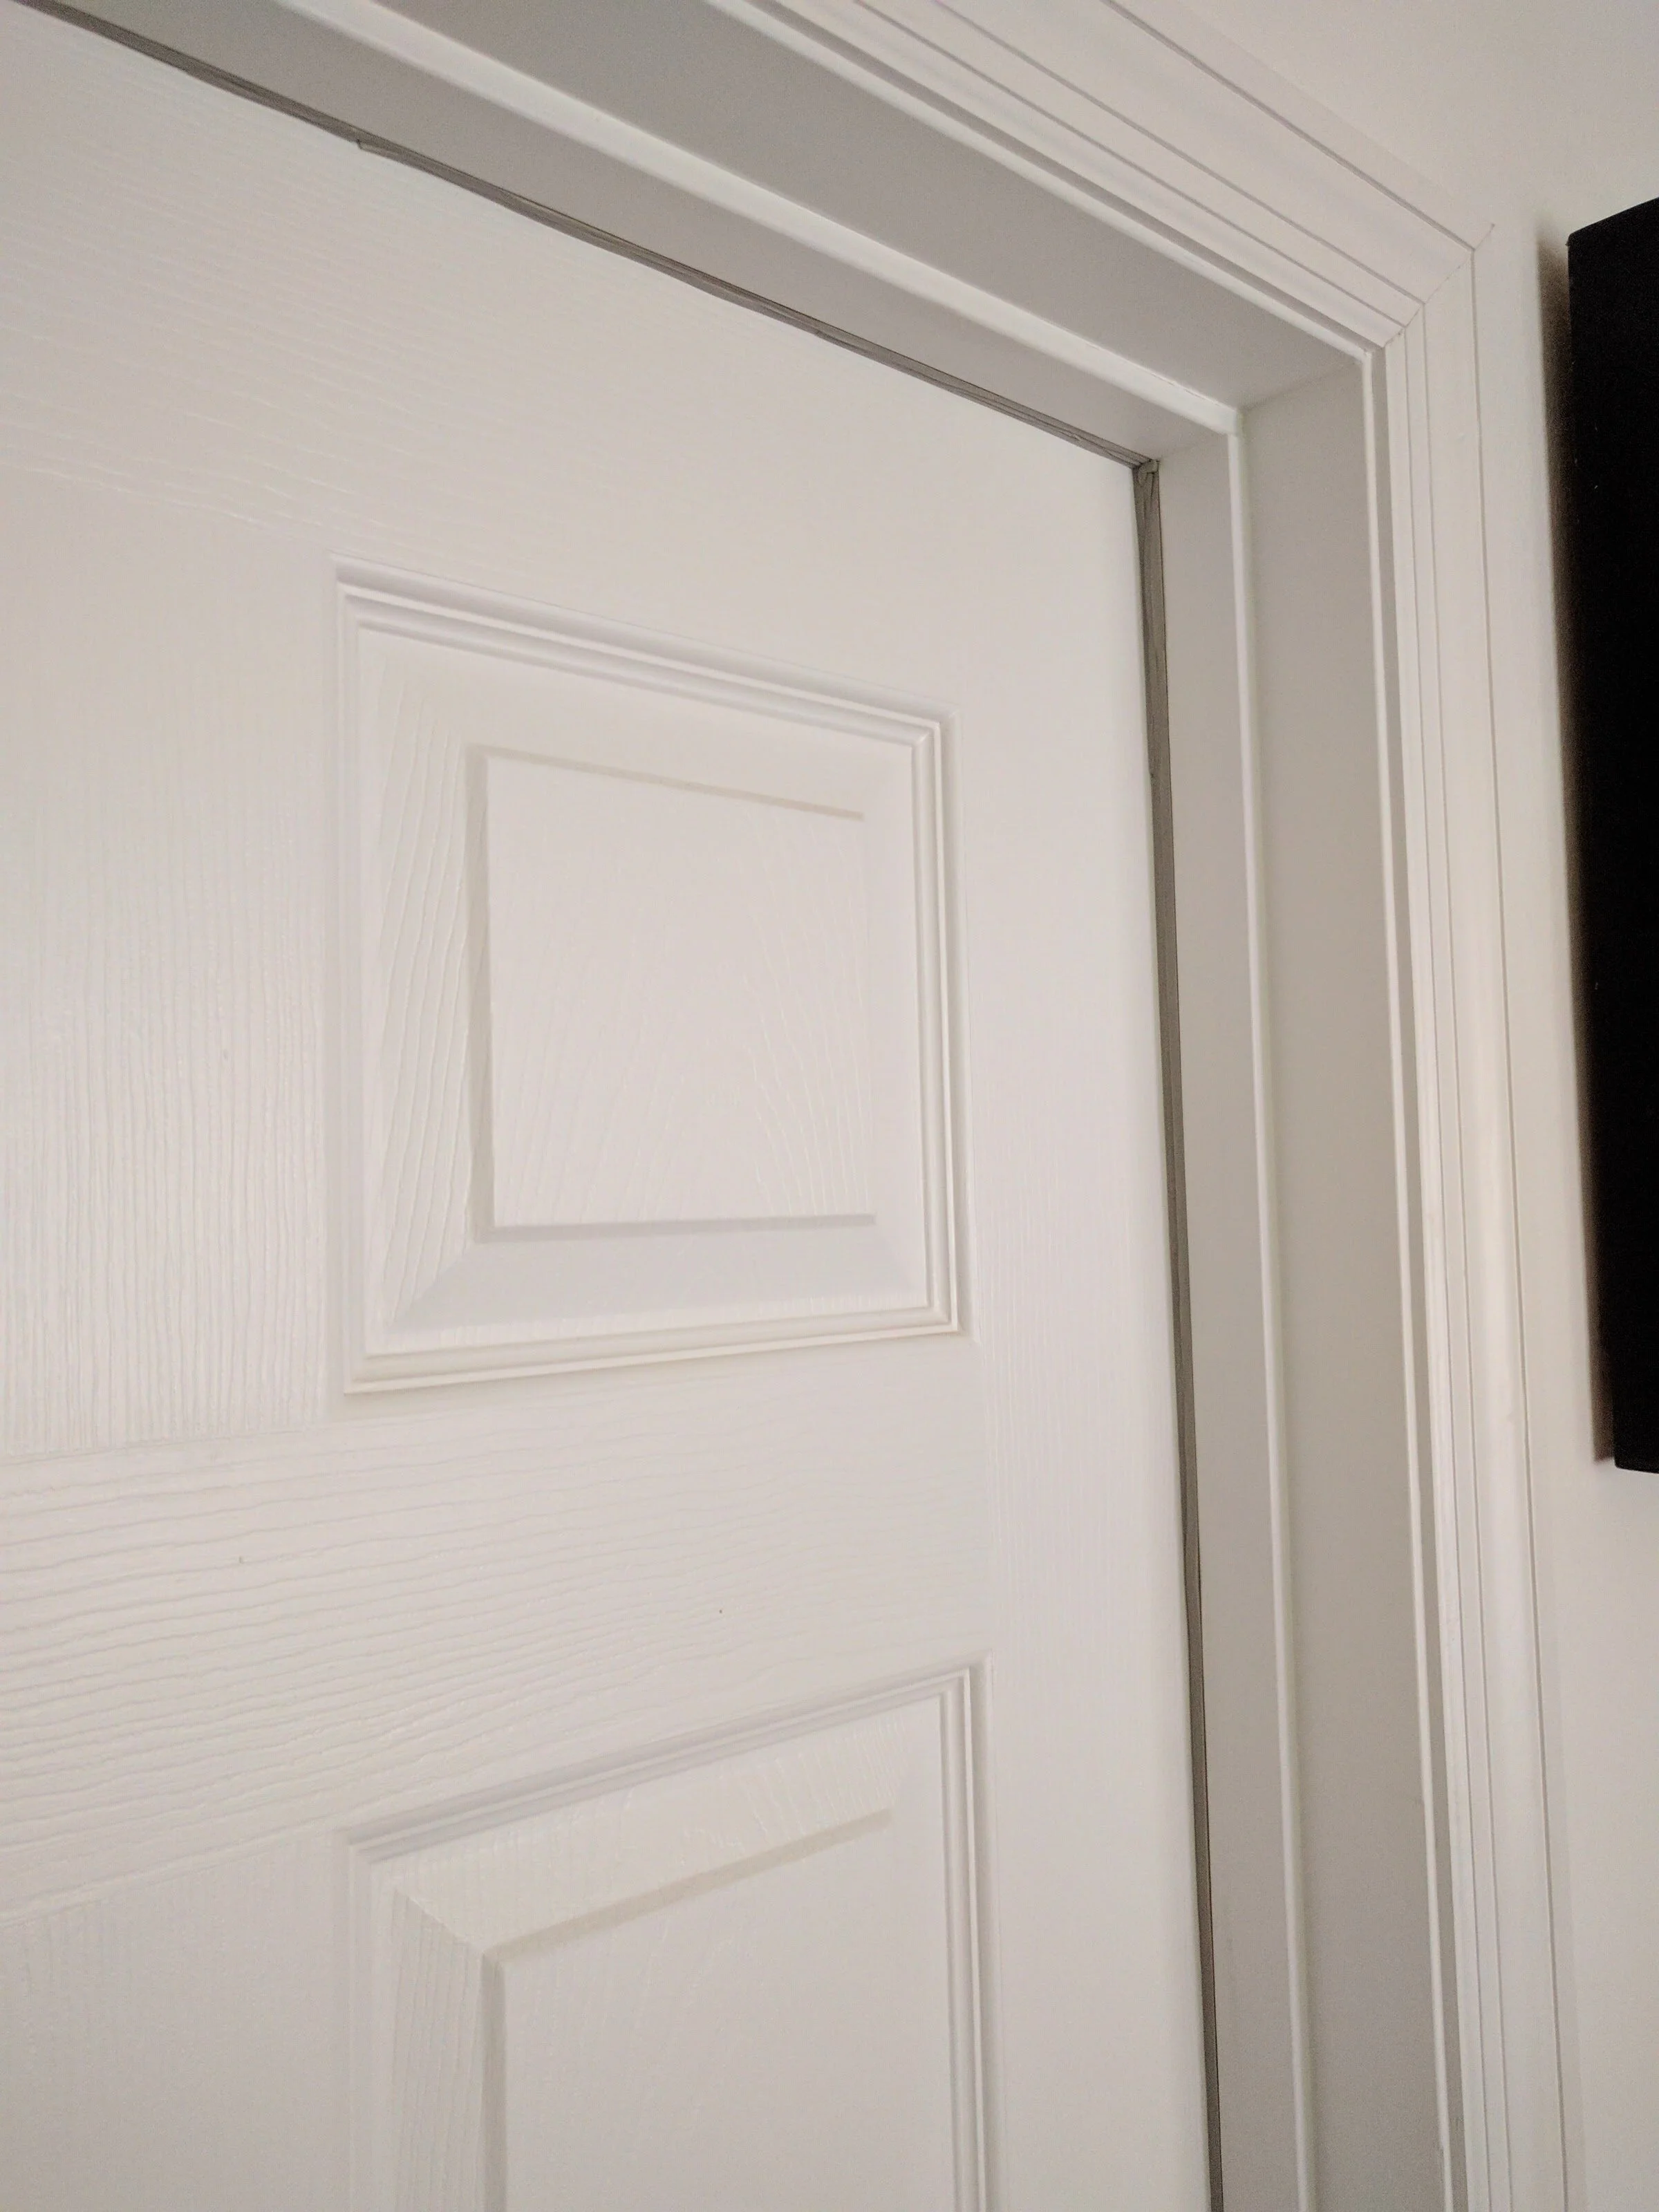
Noice! Tight seal you've got there, bro.
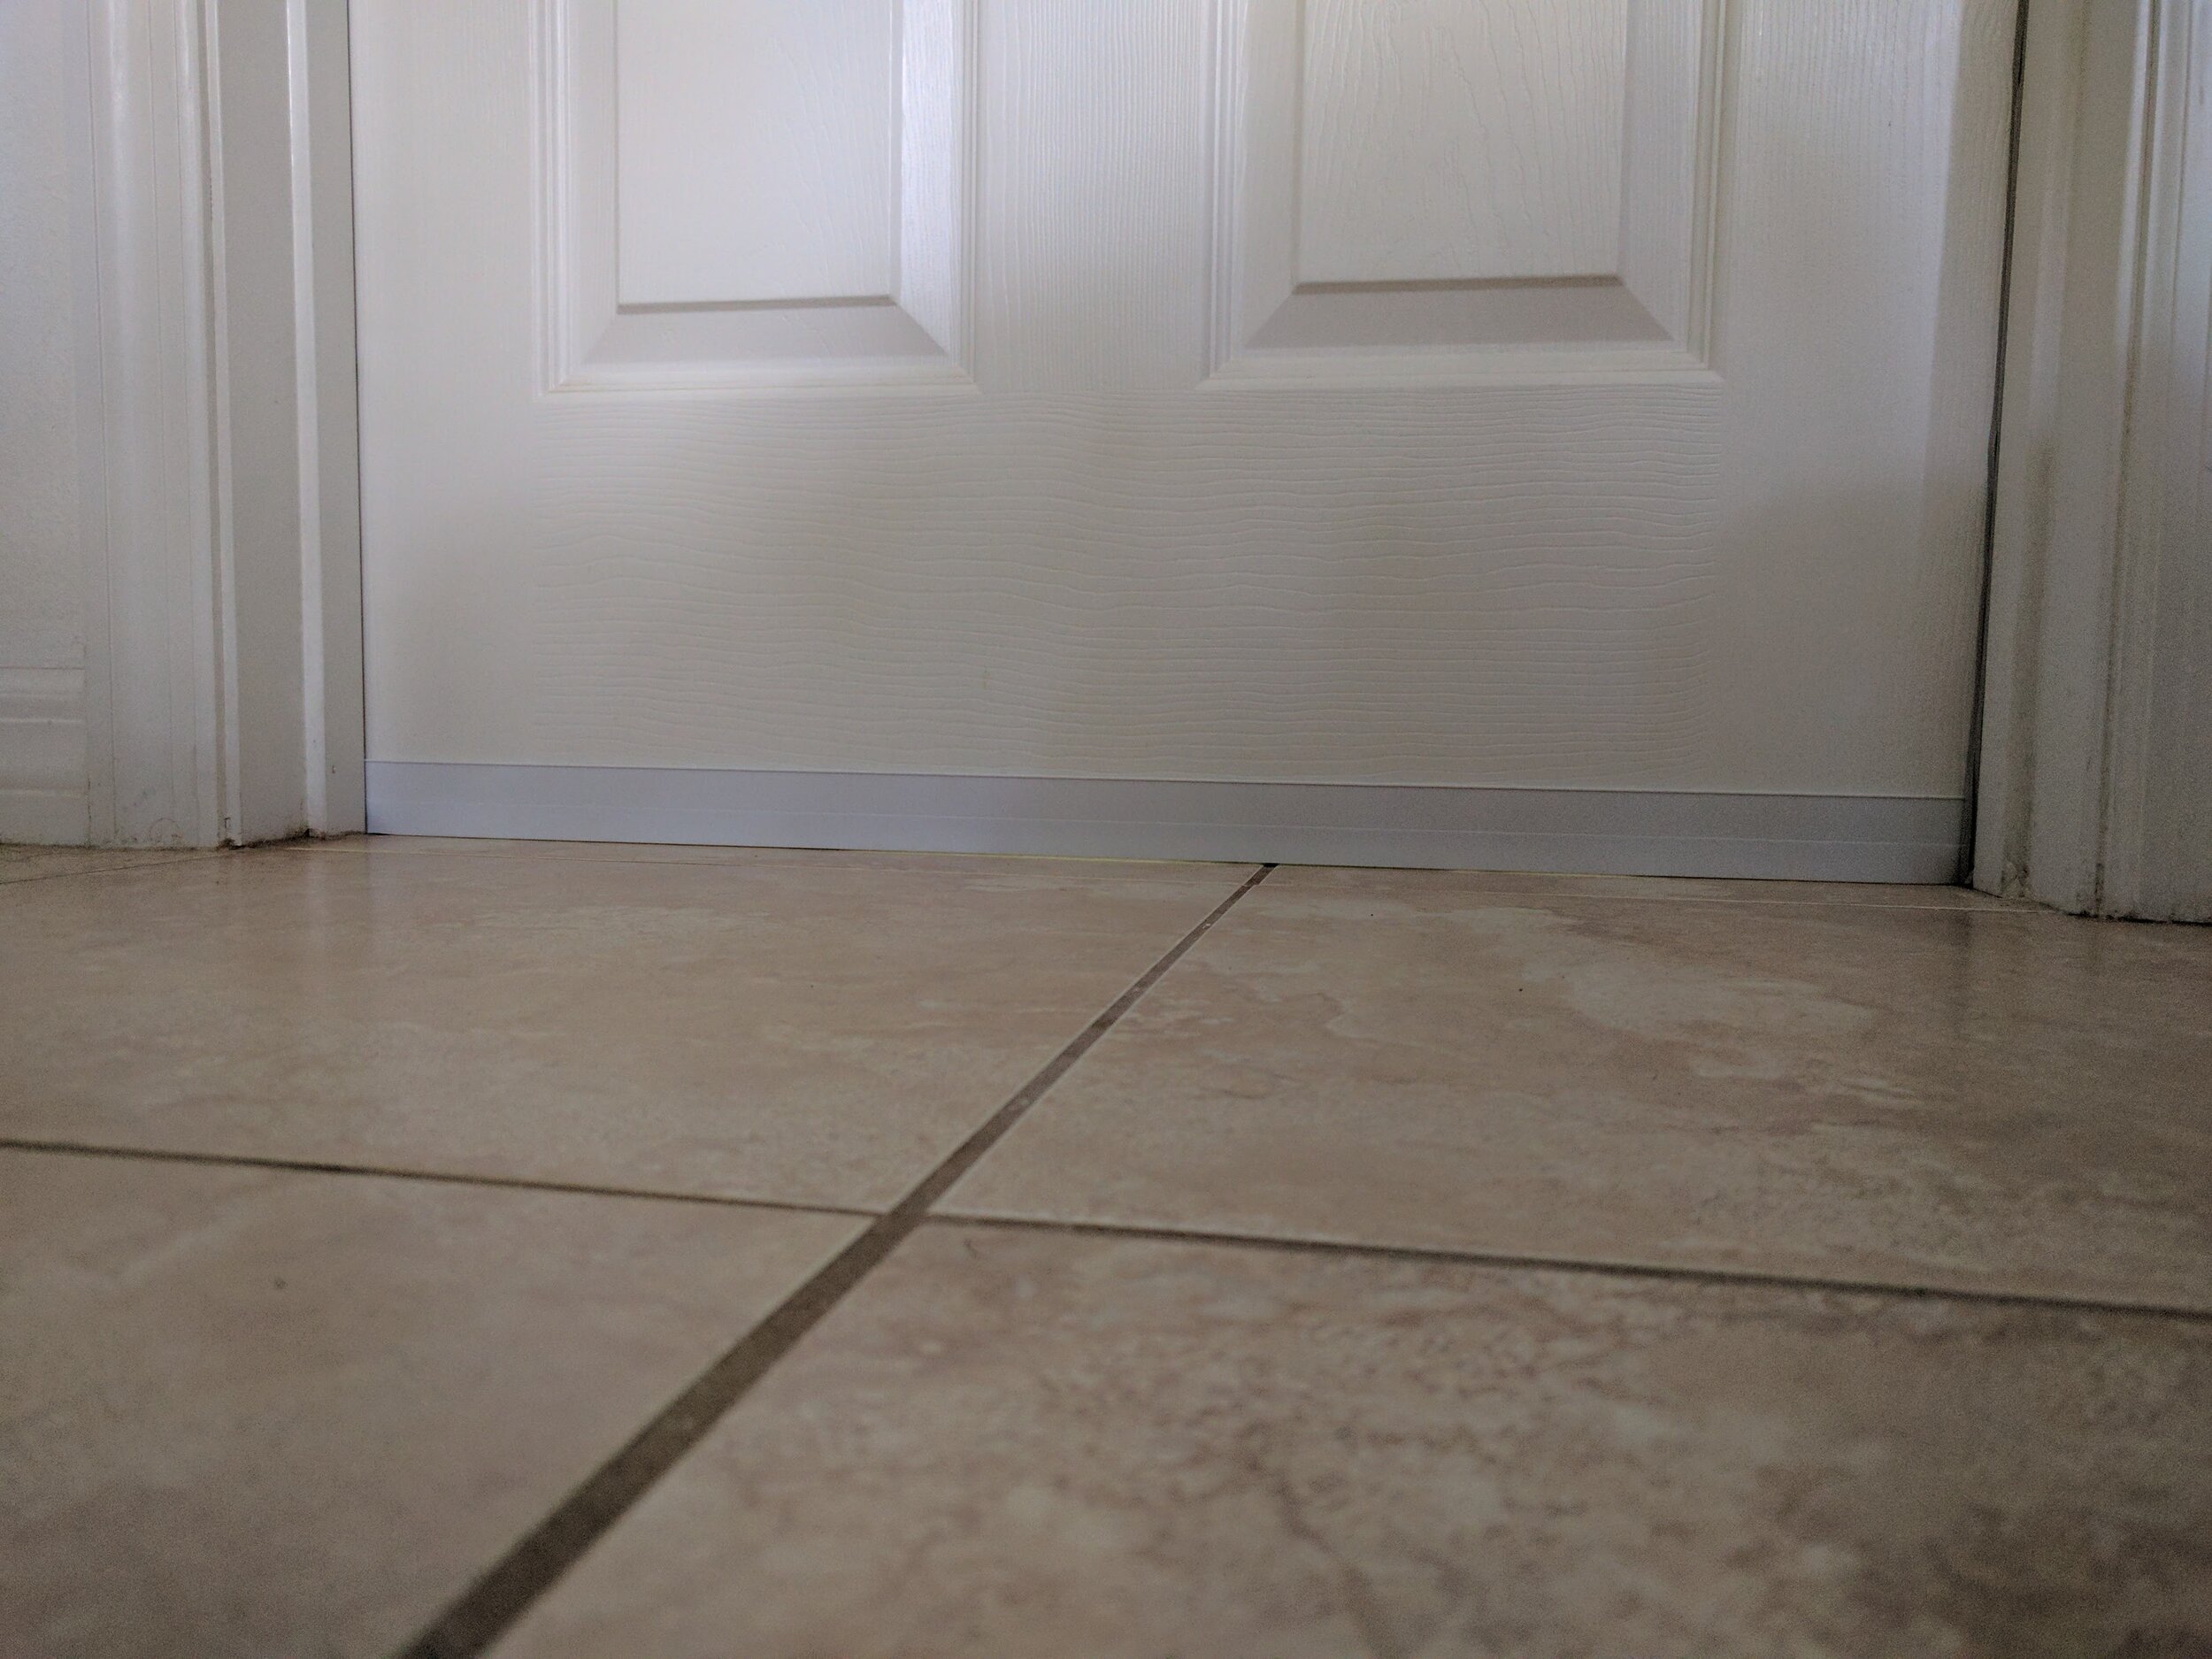
Added a door sweep for the same reason. I can actually feel the pressure change when I step inside.

Florescent lights are extremely bad for audio recording. They emit a very high pitched buzzing sound that can ruin an audio track. Originally, I was going to replace this light fixture altogether but instead, I decided to modify the fixture to accept LED light bulbs.
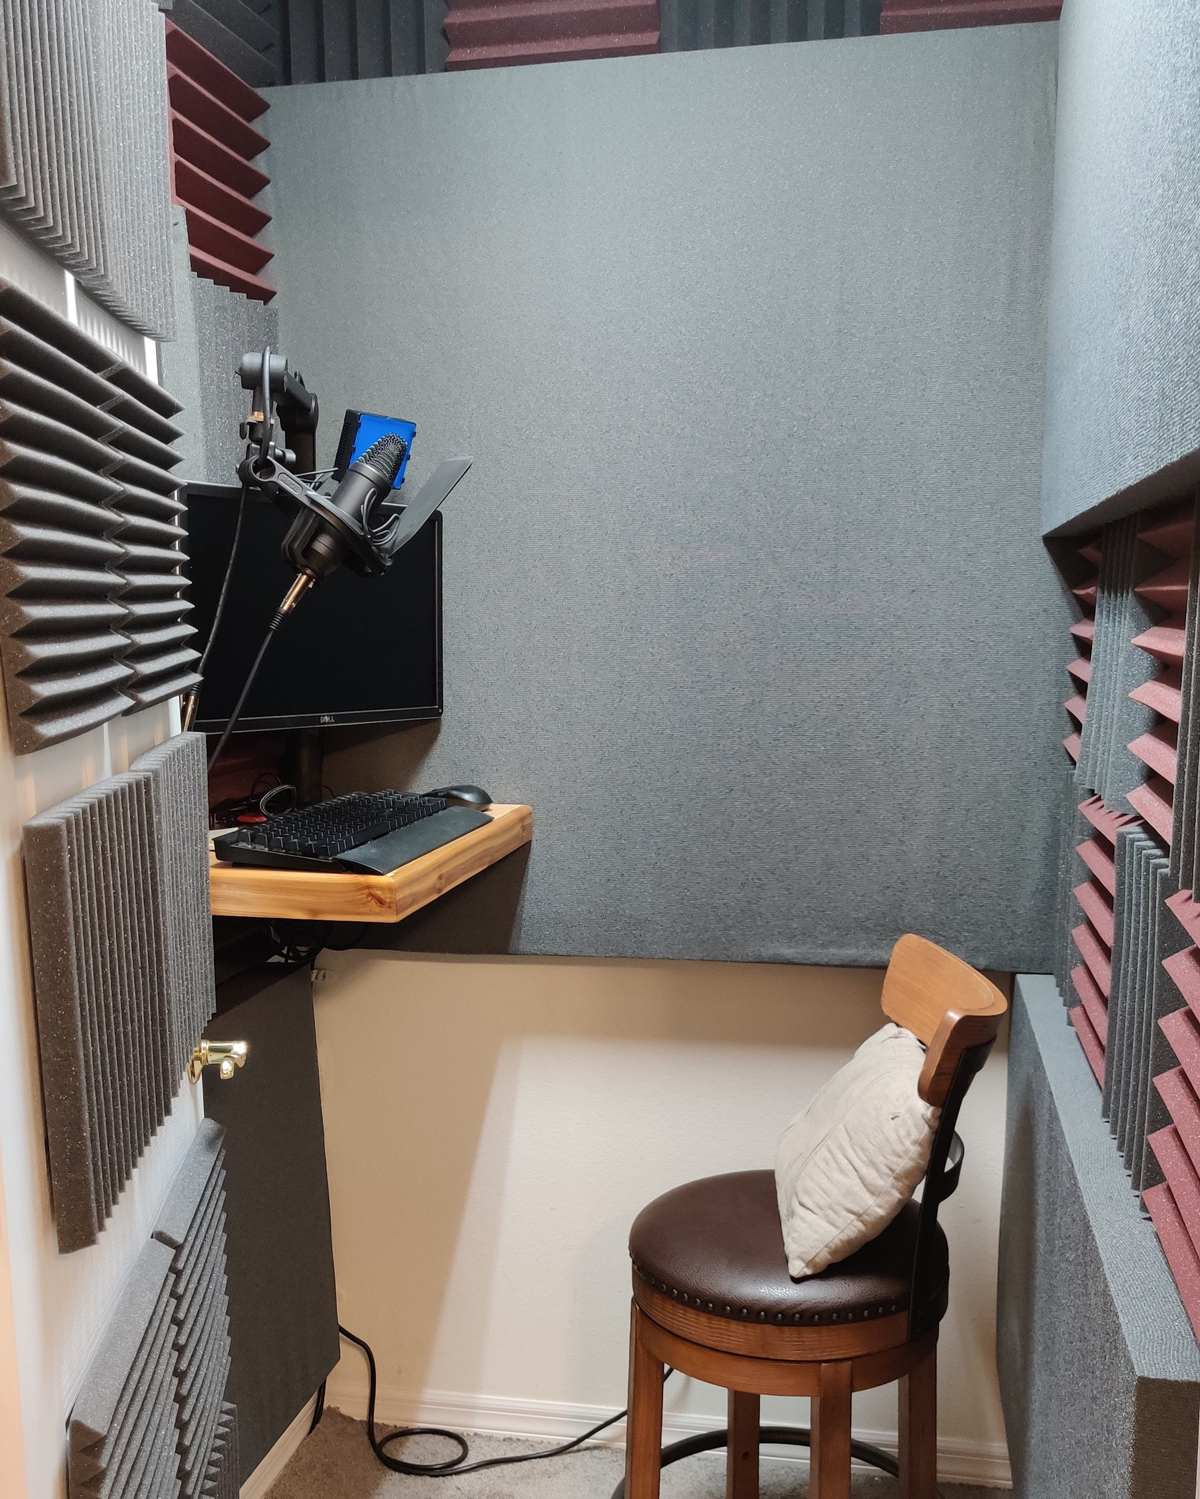
Version 2.0 of the booth features several upgrades including carpet on the ground to further reduce echo at high volume, a larger desk which is far sturdier and built at a height that supports sitting or standing, a monitor connected to the computer in my office, and perhaps greatest upgrade comes from removing my old USB microphone, and replacing it with an XLR cardioid microphone.

